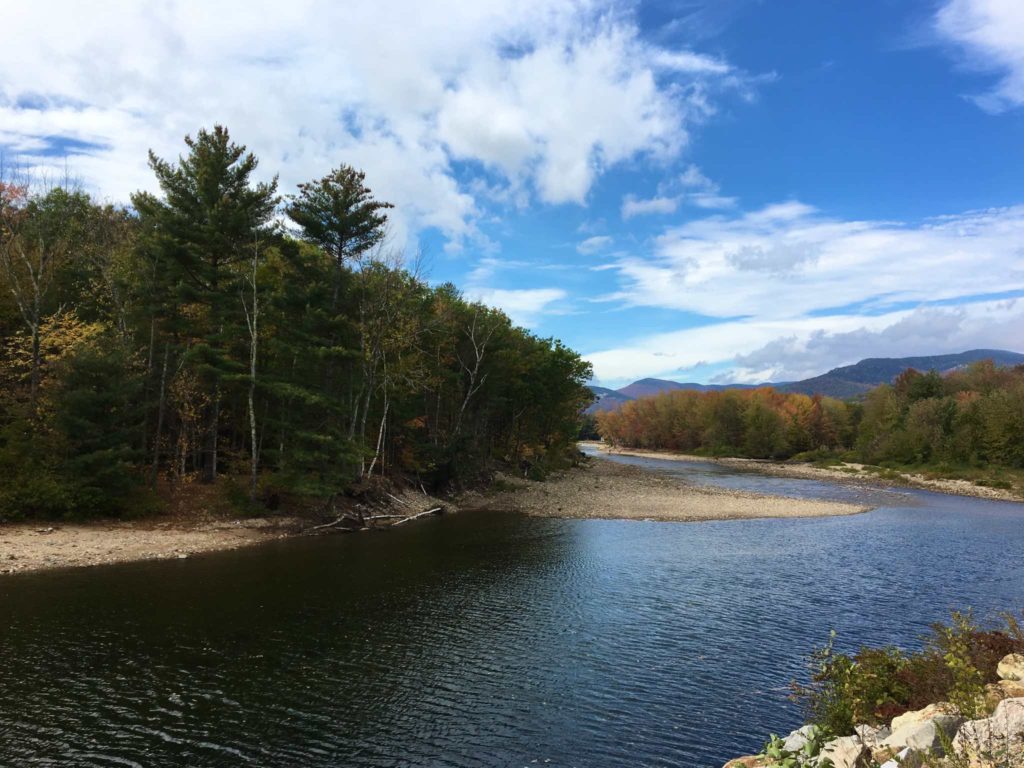
This past weekend I took my first overnight trip on the FJR, back up to New Hampshire and the White Mountains. I’ve been wanting to take it on a longish trip, and leaf peeping seemed just the thing. Saturday, I followed the same basic route I’d done with the rental FJR, and Sunday, with more time available than I had last year, I took a trip on the Conway Scenic Railway, and did a little more puttering on the way back.
I left the house on Saturday, with a little light mist. When I came out of the O’Neill Tunnel, it was actively raining, but happily, I was wearing my overpants, which can handle a little light rain. By the time I reached the state border, I was in the sunshine.
In New Hampshire, Route 3 and Interstate 93 entwine around each other like a vine on a string; I-93 is the highway; a straight shot north, except for the Franconia Notch area. Route 3 is a local road; you do run into some intersections in towns, but it’s scenic, and there are long stretches with not much traffic, and you can do a fairly decent speed unless you wind up behind a slowpoke. I much prefer it. The two roads do intersect often, and you can easily switch between the two.
At the point where I transferred to Route 3 on Saturday, there was a sign directing me to a bridge. It turned out to be an old covered bridge, so of course, I had to ride over it, ride back, then stop and take some pictures.
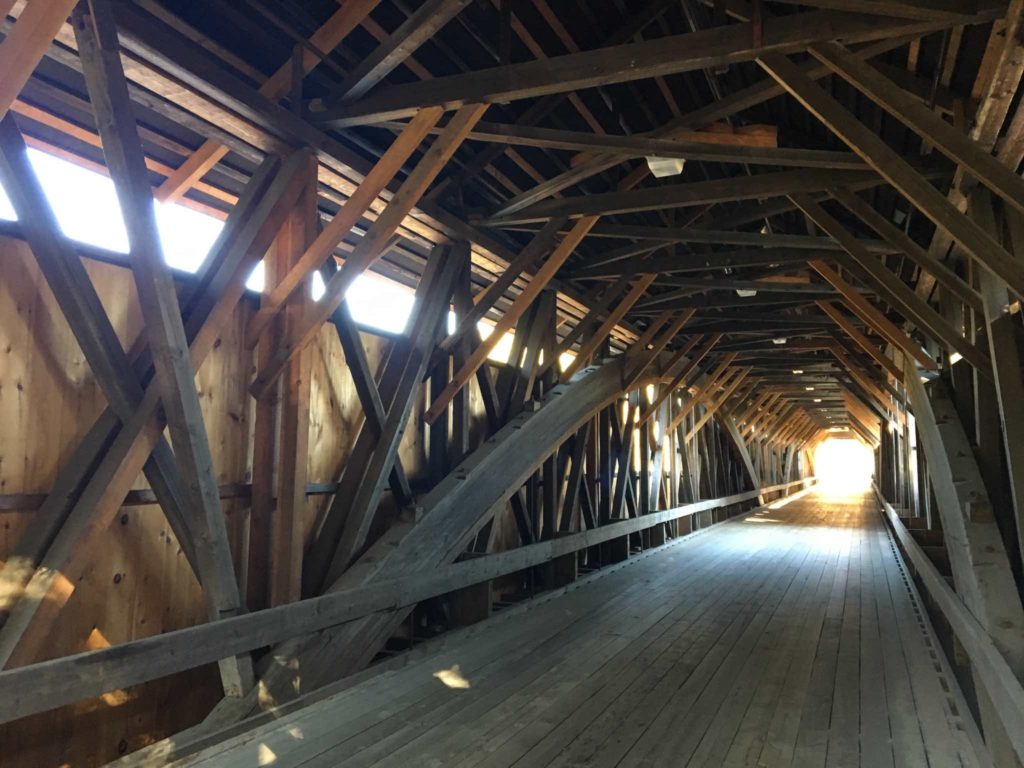
Inside the covered bridge
(Aside: Covered bridges are covered to protect their members from rot. I’ve often wondered if it would be cost-effective in the long run to add a cheap, easy to replace roof to overpasses).
I headed north to Route 112 and the Kancamancus Highway, where I got a shock. It was bumper to bumper, stop and go all the way to the first overlook. This is the FJR’s one Achilles heel: it does not handle slow speed traffic well, or at least, I don’t handle it well at slow speeds. It’s fine while moving, but once the speed drops below a couple of miles per hour, it’s top-heavy and has a real tendency to tip or turn.
After the outlook, traffic at least moved descending the Kancamancus on the way to Conway. By this point it was near sunset, so I stopped for dinner at a family restaurant. I was leaving just as a fireworks show started nearby, so I stayed until the end before heading out along Route 302 to find someplace to stay for the night. I wanted to stay somewhere between Conway and Bartlett.
I hadn’t factored in the time of year. There were No Vacancy signs all over the place. Even the dumpy little motel I’d stayed at before was full. I remembered passing a motel in North Conway that was showing a Vacancy sign, so I hurried to get back before they filled up. I got my room for the night.
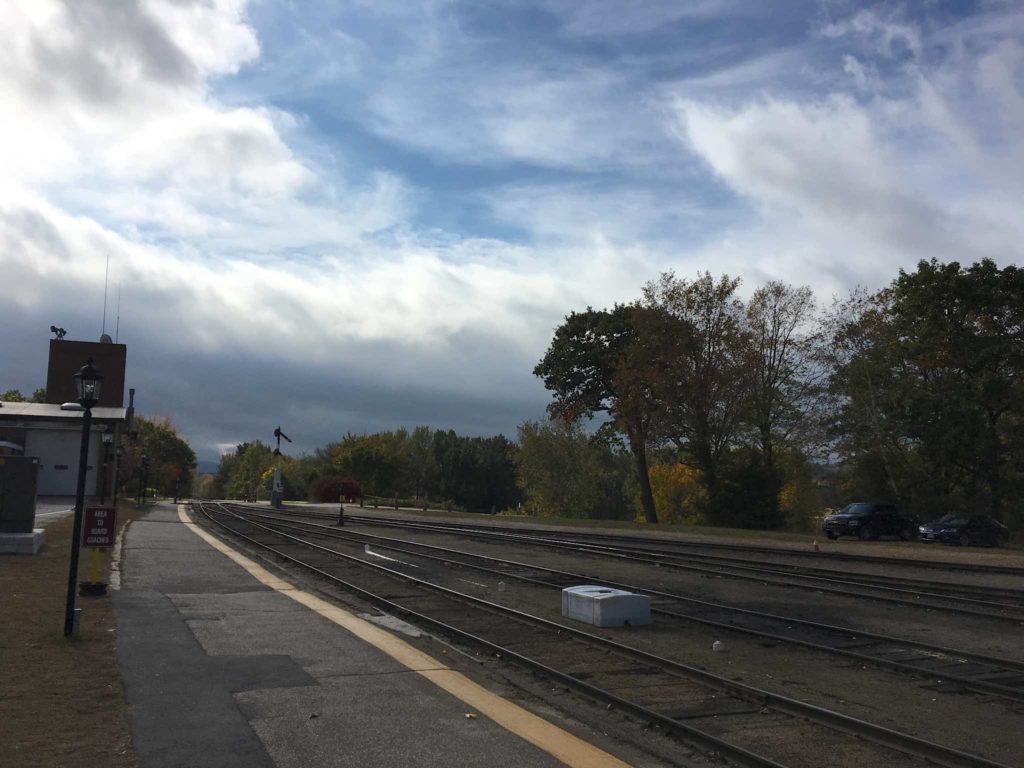
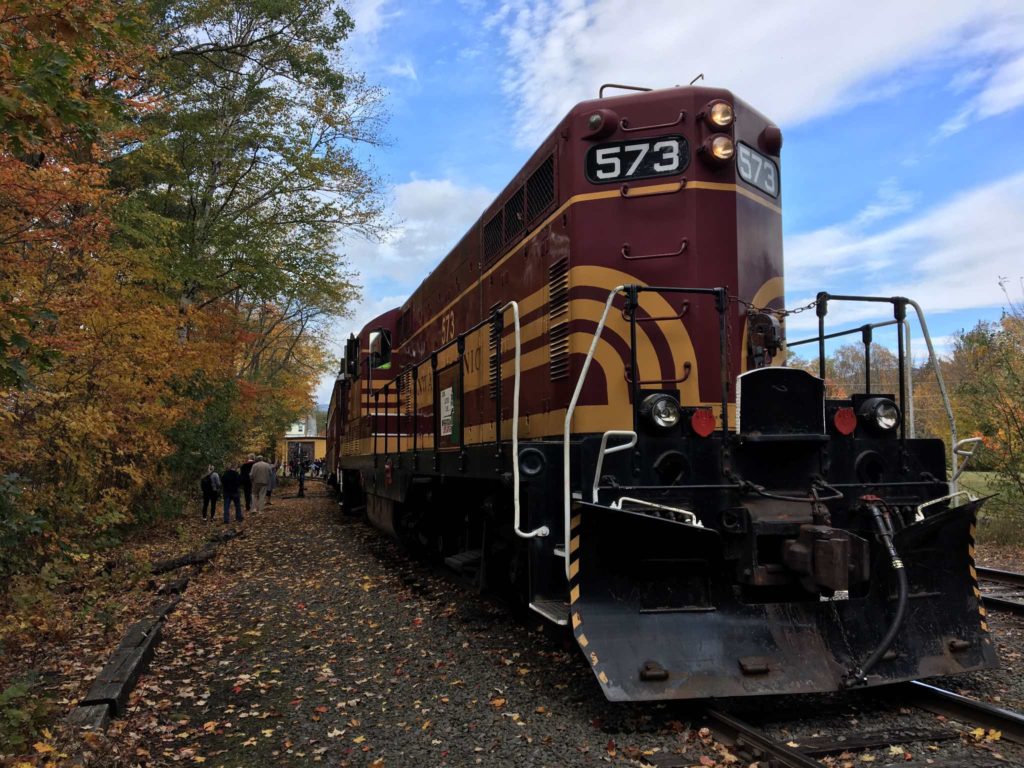
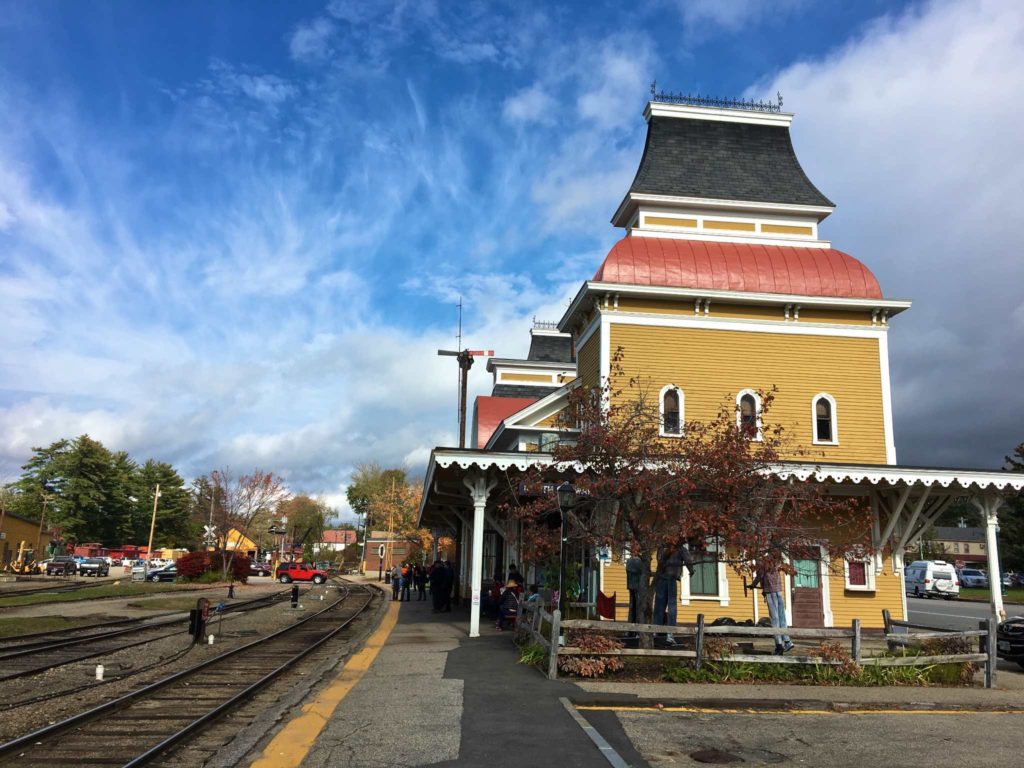
The next morning, I had to figure out what to do. I’d originally planned to take 302 out to Sugar Hill, then have breakfast at Polly’s Pancake Parlor, but here I was, close to Conway, and I’d seen the Conway Scenic Railway signs. I decided to go for the train trip. I had breakfast locally, then got a ticket for the 11:30 Valley Ride. This is a 55 minute, 11 mile jaunt through the woods.
The trip was fun, but not quite as scenic as one would hope; you spend a lot of time going through the woods, with trees close on both sides.
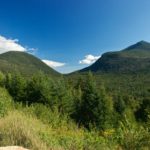
After the train returned, I headed west along Route 302, through Crawford Notch, past Mount Washington, to Route 3, and the slow ride home. This part of the ride is made for motorcycling — not much traffic, and scenic, curvy roads.

View from Crawford Notch
While I was riding through, I could see the Notch Train in the distance, running up along the side of the mountain. It made me a little sorry I hadn’t taken it, but not much; I’d rather take the bike than the train through there.
By the time I was headed south on Route 3, it was mid afternoon, so I stopped at the Indian Head Resort for lunch. It’s old-time 1950’s type tacky, but the view while I was eating was nice.
By the time I finished lunch, it was 3:30, and time to head home. For the most part, I took Route 3 back – it was getting close to sunset, and the light and the foliage were superb. I did skirt Laconia, as I’ve found there are a lot of intersections there. Finally, as I approached Concord and dusk fell, I switched back to I-93 for the rest of the ride home.
I am still pretty happy with this bike. At speed, it’s like riding a magic carpet, smooth and responsive and with plenty of power. I feel more comfortable passing for some reason on this bike than I did on the other two. I was mostly in the lower part of the engine’s RPM range except for one moment passing when I reached an absurd speed in second gear. It made me wonder what it can do at red line in top gear.
I do need to get better at stop and go with this thing. It tends to catch me by surprise when it loses gyroscopic balance and it starts to yaw. Part of it might be top-heaviness, part of it may be my short legs.
I was definitely feeling a little saddle-sore by Sunday evening. Not too bad, and nowhere as bad as the Katana, but I was feeling it. I may look into Yamaha’s comfort seat, a gel filled replacement saddle.
Finally, I was definitely missing my Nikon on this trip. It’s still out of commission, and I was limited to iPhone photography. The iPhone camera is really good, but its lens is fixed, and semi wide-angle. It also tends to pick up fingerprints.I tend to “see” narrowly photographically, and miss my zoom lens. I also miss having a raw file to work with and manipulate. At this point, I’ve exhausted all the do it yourself options I’ve read about; it sounds like the camera definitely needs repair. I may just decide to replace it instead.