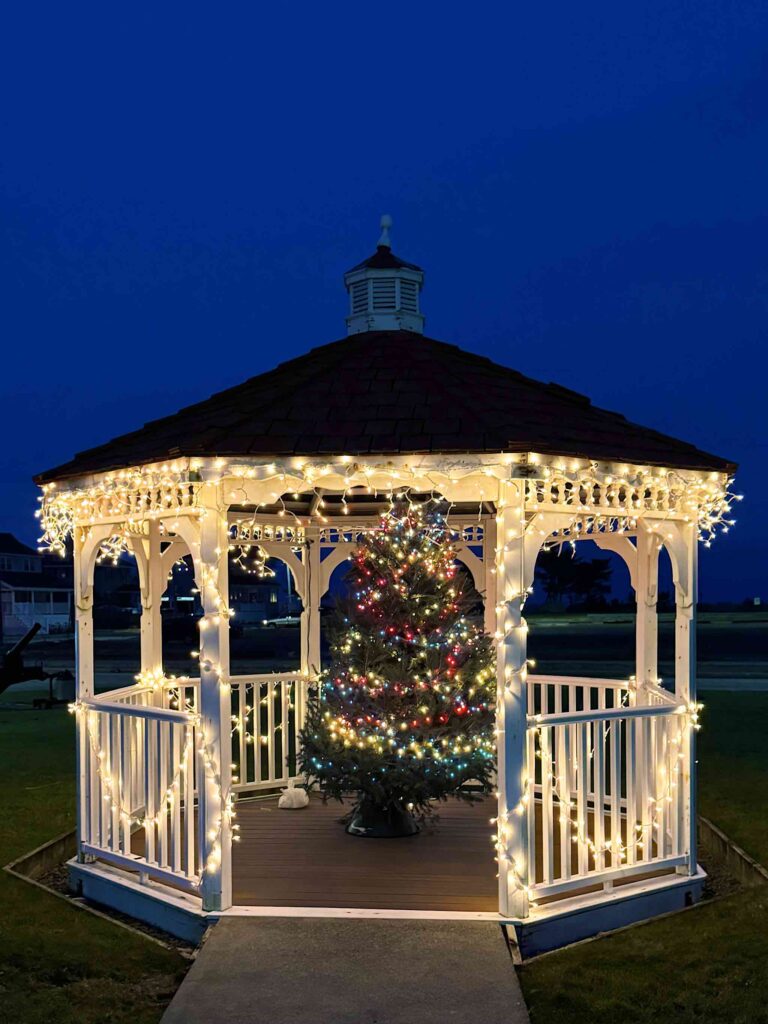
Unlike last year, I didn’t have a pre-conceived idea of what this year’s Christmas Card would be. I generally start scanning my photo library around Thanksgiving, but the cupboard was coming up bare. I started to think maybe I’d go into Boston over the weekend after Thanksgiving to see if I could take a picture of lights that spoke to me.
And then I went to Polillio’s in Stoughton to pick up a wreath and kissing ball for the front door and steps. They’re a garden center that I used to use a lot before I moved to the condo, and they always have a lot of Christmas decorations on display around this time of year, so I had my eyes out for something I could photograph.
And then I saw it — a ceramic figurine of a teddy bear in a Santa hat holding a Christmas tree. It was cute, and I figured “A picture of a teddy bear from Ted… why not?” So I picked it up, and set up the table top studio.
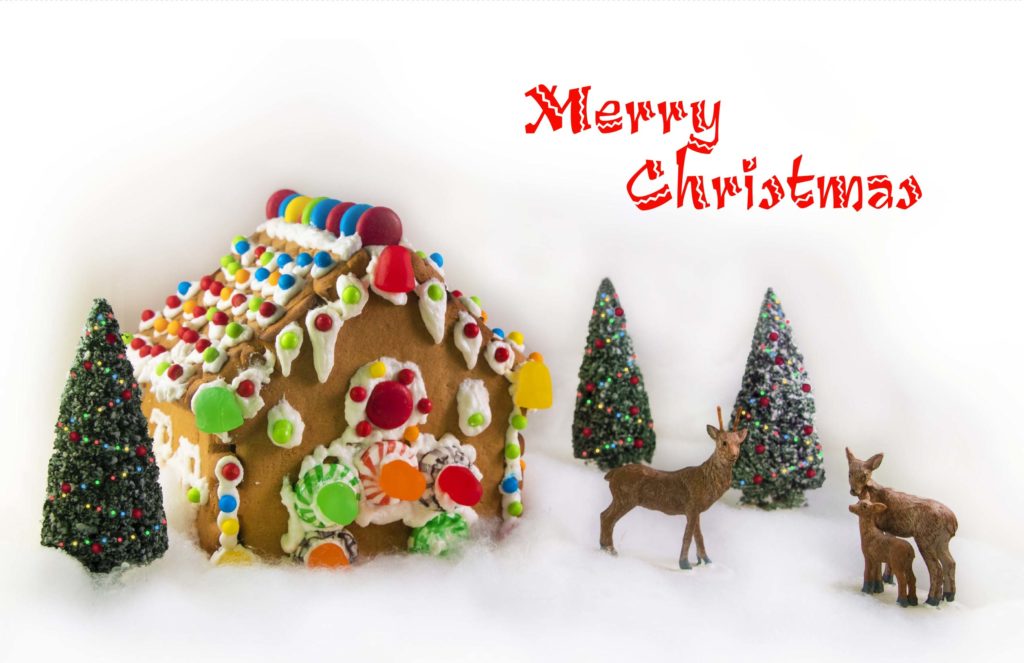
The “studio” was a Christmas present from my mother from about a decade ago. It’s a small lightbox about 16 inches cubed, with a pair of lights. It came with white, red, blue and black backgrounds that attach to the back of the lightbox with velcro. I first used it for my 2016 card of the snowglobe. It almost didn’t make the move here, because I’d broken one of the lamps while shooting my 2021 gingerbread house card and hadn’t been able to find an exact replacement bulb. I was originally going to toss it when we cleaned out the old house, but in the end, I brought it over, and I decided to replace the broken halogen bulb and its remaining twin with an LED bulb that turned out to be both brighter and less hot. It was rated as a 5000°K bulb, and the color temperature turned out to be pretty reasonable, and easily adjusted in Photos.
I set the studio up in the dining area, and put the teddy bear in it. I decided to try shots with the white, red, and black backgrounds. For the first set of pictures, I tried all three of my lenses. I knew I wanted to shoot it from the bear’s eye level, and originally envisioned it as a full length picture with open space all around it, and some extra space above for the text. I shot 28 variations, against white, red, then black, and then transferred the results to the computer for a look.

I frankly wasn’t thrilled with any of them. The composition was a little too on the nose. I did decide that I liked the red background, and since I knew I’d just picked up ink, I could afford to print a picture with a lot of red. On the other hand, I didn’t care for the composition of any of the red pictures.
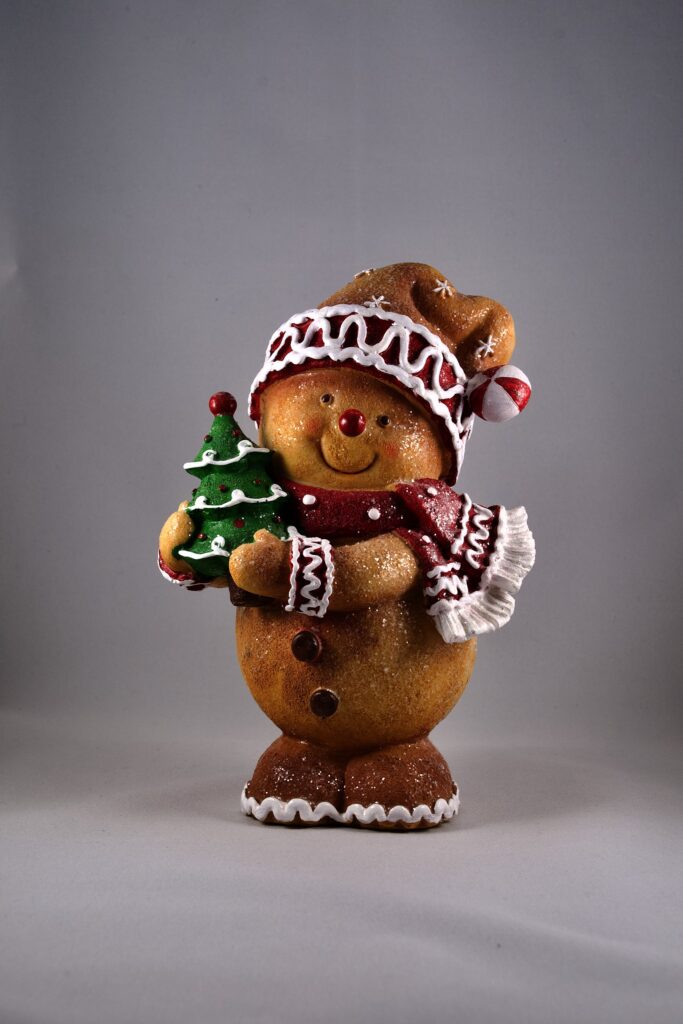

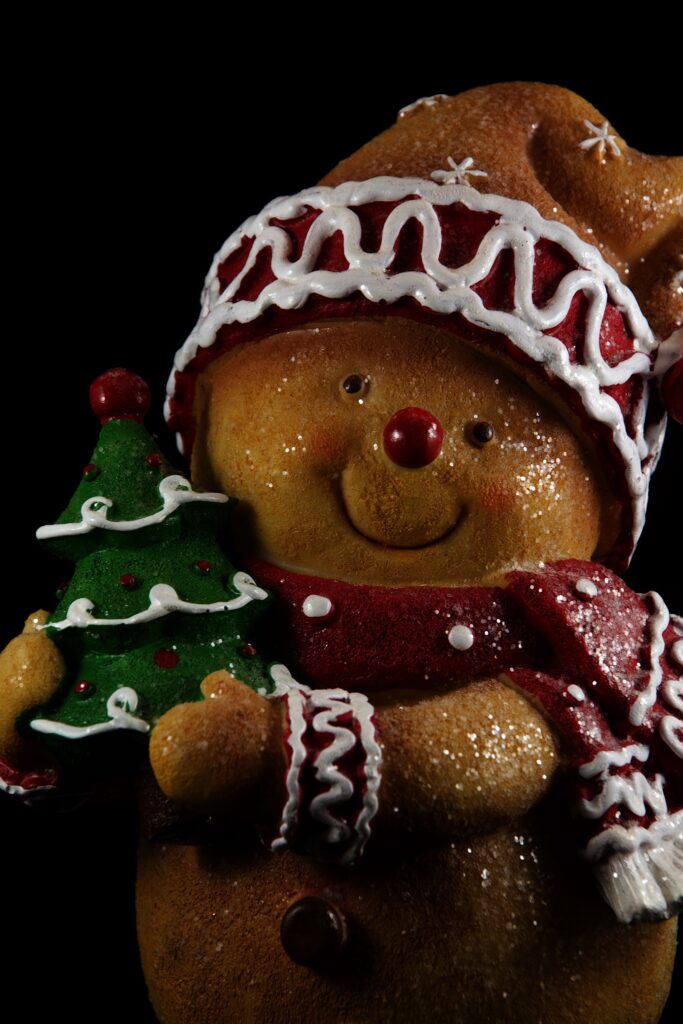
The very last picture I shot, though, had possibilities. I was shooting against the black background, and since I knew I probably wasn’t going to use it, I was a little freer with the composition. I came in tighter, and framed him mid torso up. I didn’t care for the background, but I did like the composition. So I decided to shoot another batch.
Since I had a better idea of how I was going to frame them, I switched to my 105mm macro lens. It’s a fixed focus lens, and is sharpest lens I have. I found for this second session that placement of the lights made a difference — the bear is lightly covered in glitter, and the position of the lights controlled how they would catch the light, as well as the play of the highlights and shadows on the bear itself. I shot 11 variations, and they were better, but still a little flat. Also, in several of the pictures, the glitter next to the bear’s left eye was catching the light strangely. I realized the bear was turned so that the side with the Christmas tree was turned slightly away, and that it should be turned so that the tree side was slightly closer, almost as if he were presenting the tree to the viewer. So I shot one more batch, and this time, I got what I was looking for.

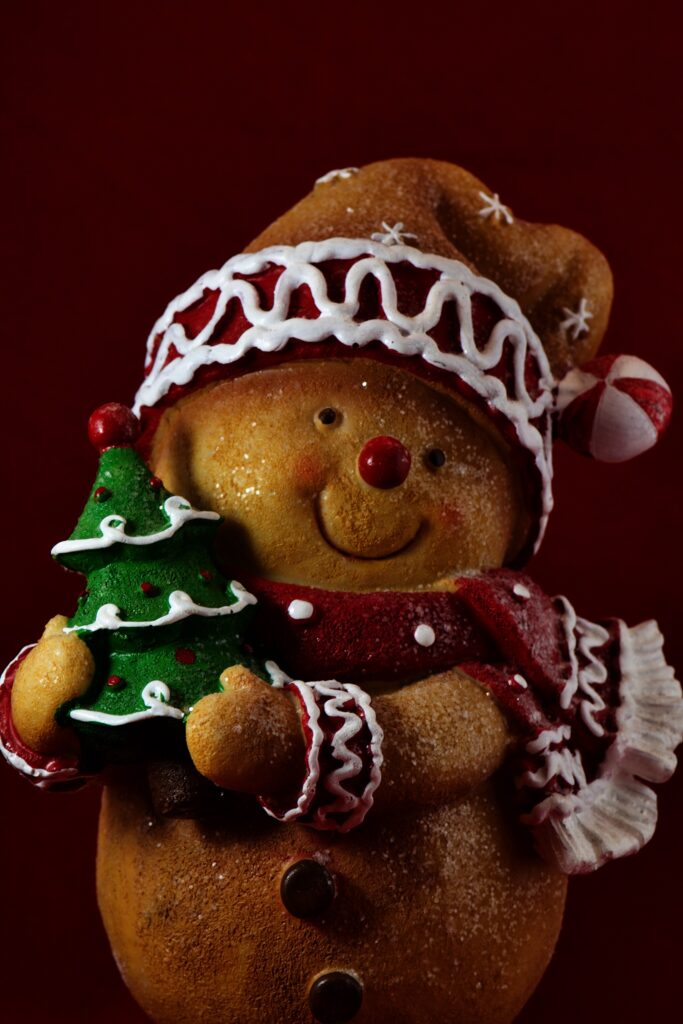
I’d done the kind of normal corrections I do for any photo. All my Christmas card photos up to this point had required some sort of Photoshop (or equivalent) work, but when I brought this one into Photoshop, I looked at it and said, “Nope. It’s fine”. This was the first time; all the work was done in-camera, in the framing and lighting.
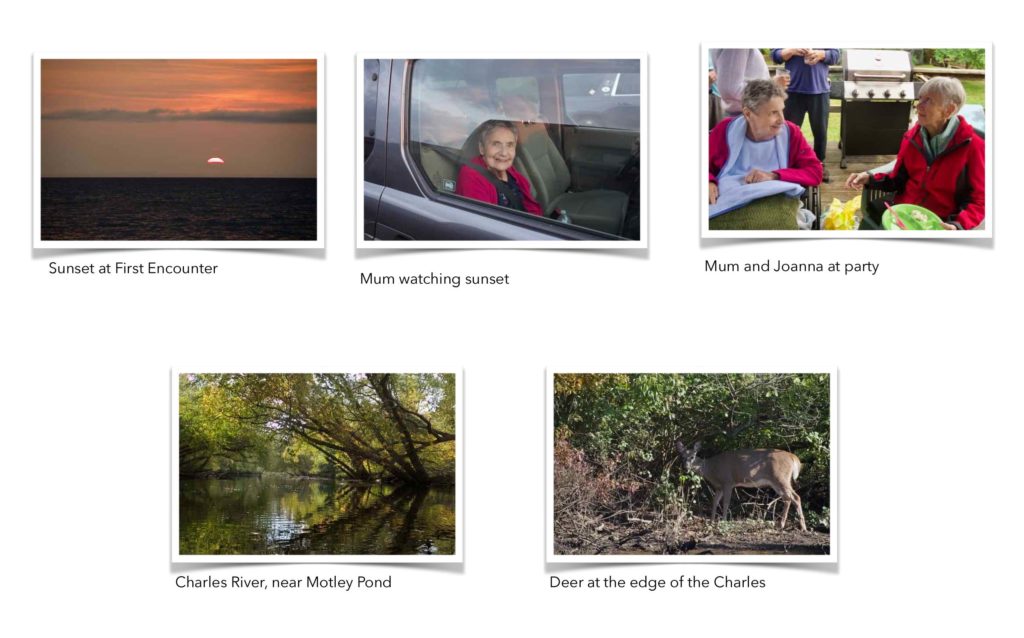
Next, it was time to manufacture the cards. I duplicated last year’s card files, which had both the inside and outside in them, and replaced the images with the new ones. For the flyleaf, I chose one of the pictures from the balloon flight and another from the train trip in the White Mountains in October. Early versions of the card also had a picture of fall foliage on the Charles River and sunrise at Nantasket, but they made it seem a little crowded, so I dropped them.


I had a shock when it came to print them. Last year I’d been able to successfully print the cards two-sided, which was great since I didn’t need to run the cards through the printer twice, and worry about getting the orientation of the outside and inside correct. This year, for some reason, it kept jamming on me when I tried printing two-sided. Worse, the computer kept forgetting settings between runs. It kept resetting back to two-sided printing, or would revert to normal quality. And since I’d laid it out with a two sided layout, I had to make sure I was correctly selecting the proper pages. The final insult came when I ran a head cleaning cycle on it; cards often print a little bandy, but they were much improved after head cleaning, but unfortunately, but that point, I’d already done most of the cards.

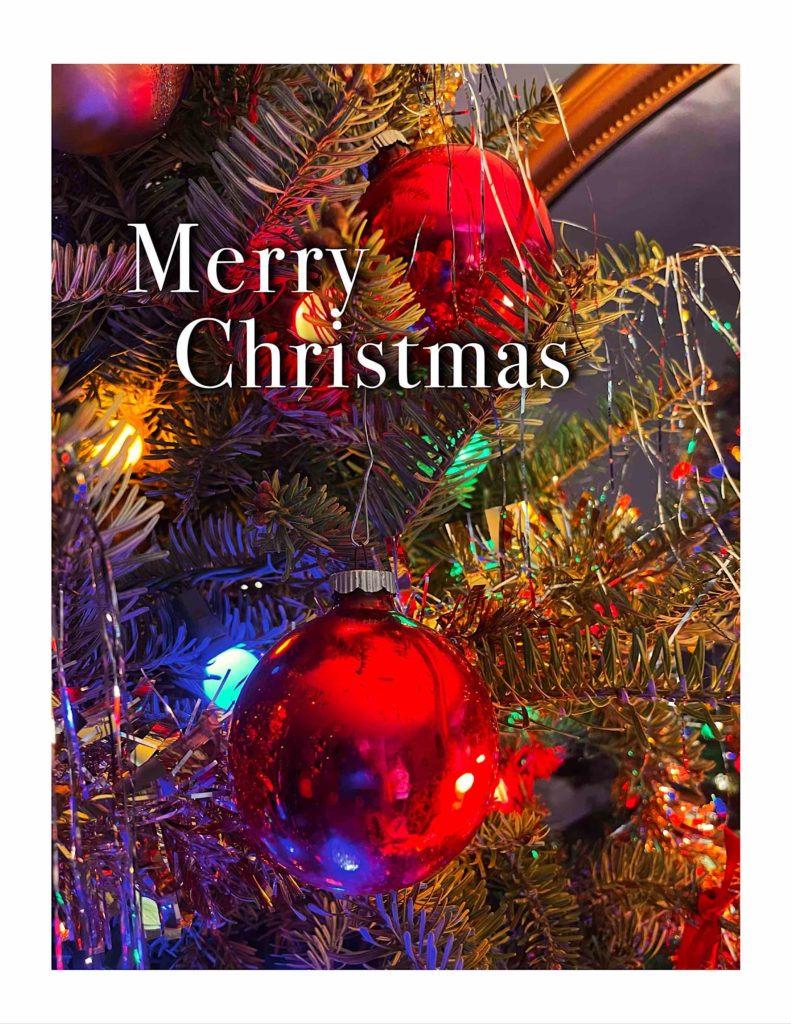
Merry Christmas, everyone