I’ve been making my own Christmas cards for over a decade. Although I worry about it coming off as showing off, I enjoy doing it, and my recipients tell me they enjoy getting them and wonder what I’m going to do each year.

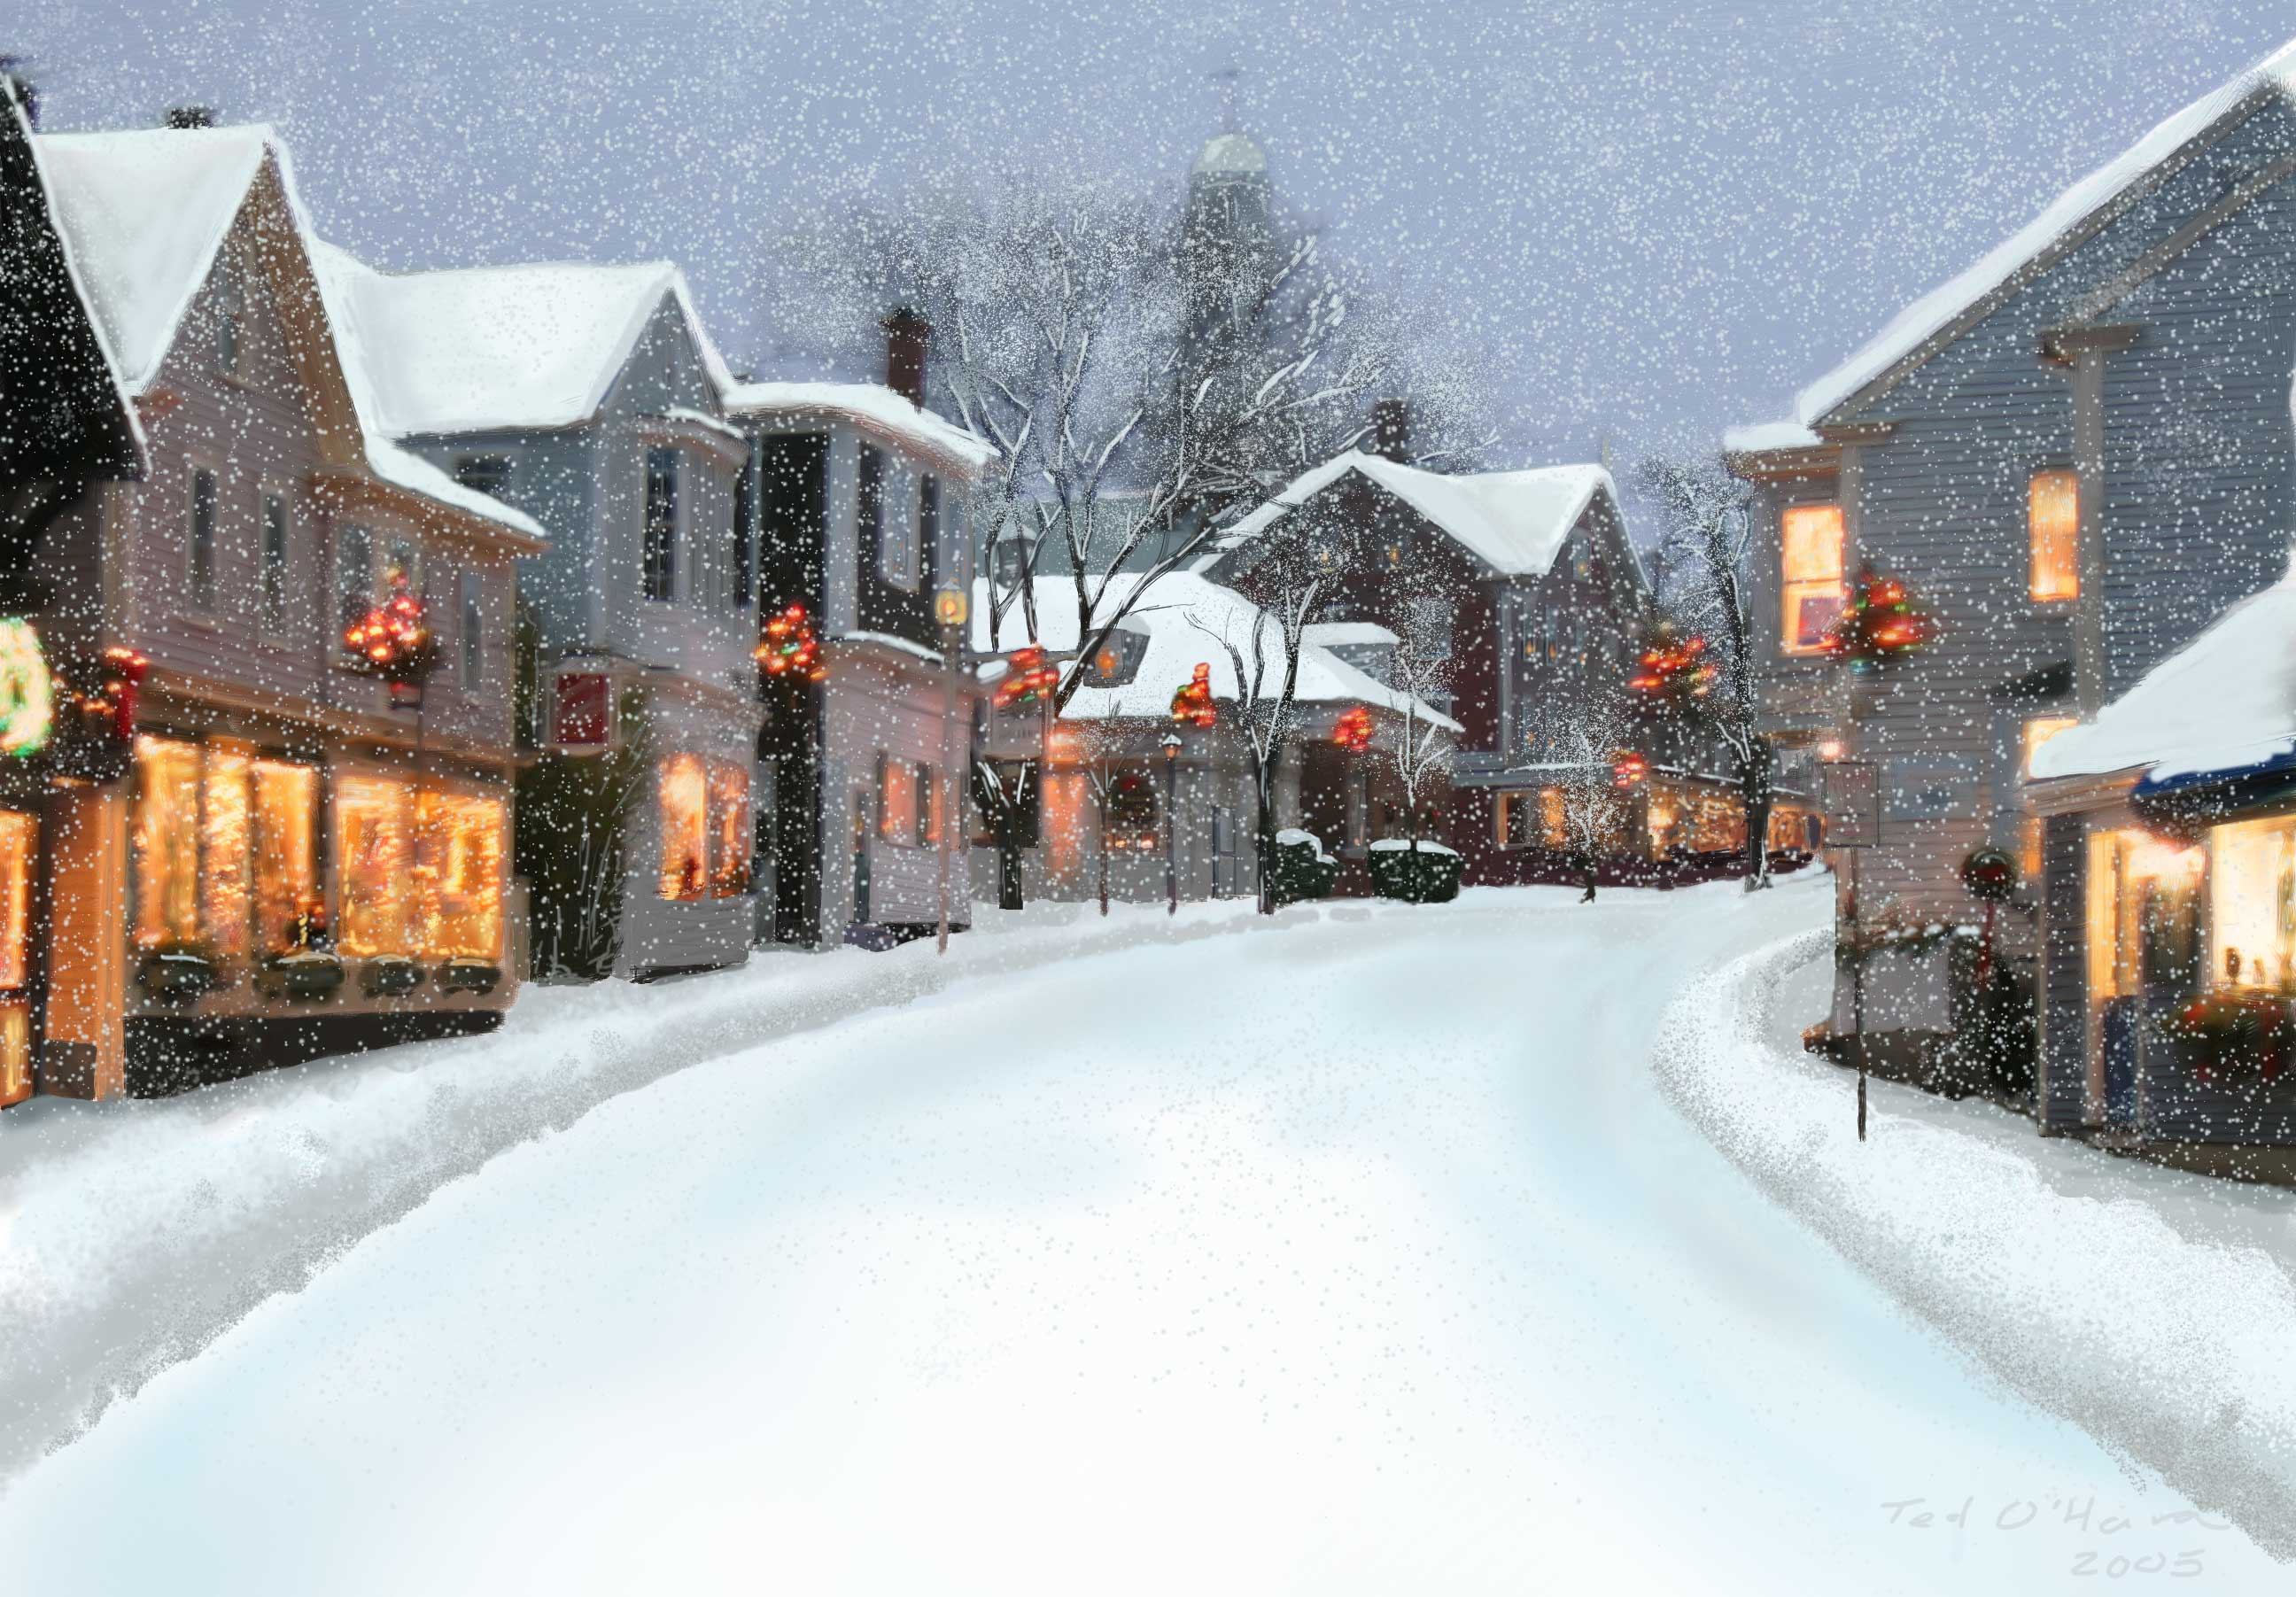
I started in 1997, when I had decided on the spur of the moment to add a Santa hat to a rock beauty I’d taken on a dive trip to Curaçao, and send that out as a card. Generally speaking, my cards start out with a photograph, and are embellished somehow. They definitely took a leap forward in 2005 when I took a non-snowy picture of Rockport Center, and turned it into a snow covered scene out of Currier and Ives.
Each year, I seem to go through the same sequence of steps:
- OMG, I have no idea what I want to do, and it’s already December 8th (or 9th, or 10th. Sometimes as late as the 13th). Increasingly frantic as time goes by.
- Do I really want to do a card this year? In the middle of this phase, I tend to get a card from someone saying they’re really looking forward to my card this year. Oh crap.
- I get an idea, but I’m not sure I can pull it off. Or more precisely, I don’t think I can pull it off, but I’ll give it a go, and if it doesn’t work out, go to Plan B. If I can think of a Plan B.
- A false start. Or two. I suck, and the idea is looking less and less promising.
- I start to figure out the mechanical details of how to pull it off.
- Hey, this is starting to look like something!
- Done! I did it! Now the purely mechanical chores of laying out the card, and printing them. Yes, my printer does still hate me.
One of the complications of the process is that I need to get them done during the early part of December, and we often don’t have snow on the ground then. I do try to shoot stuff ahead for following years, but somehow, I never find anything in my library that seems adequate.
The Idea

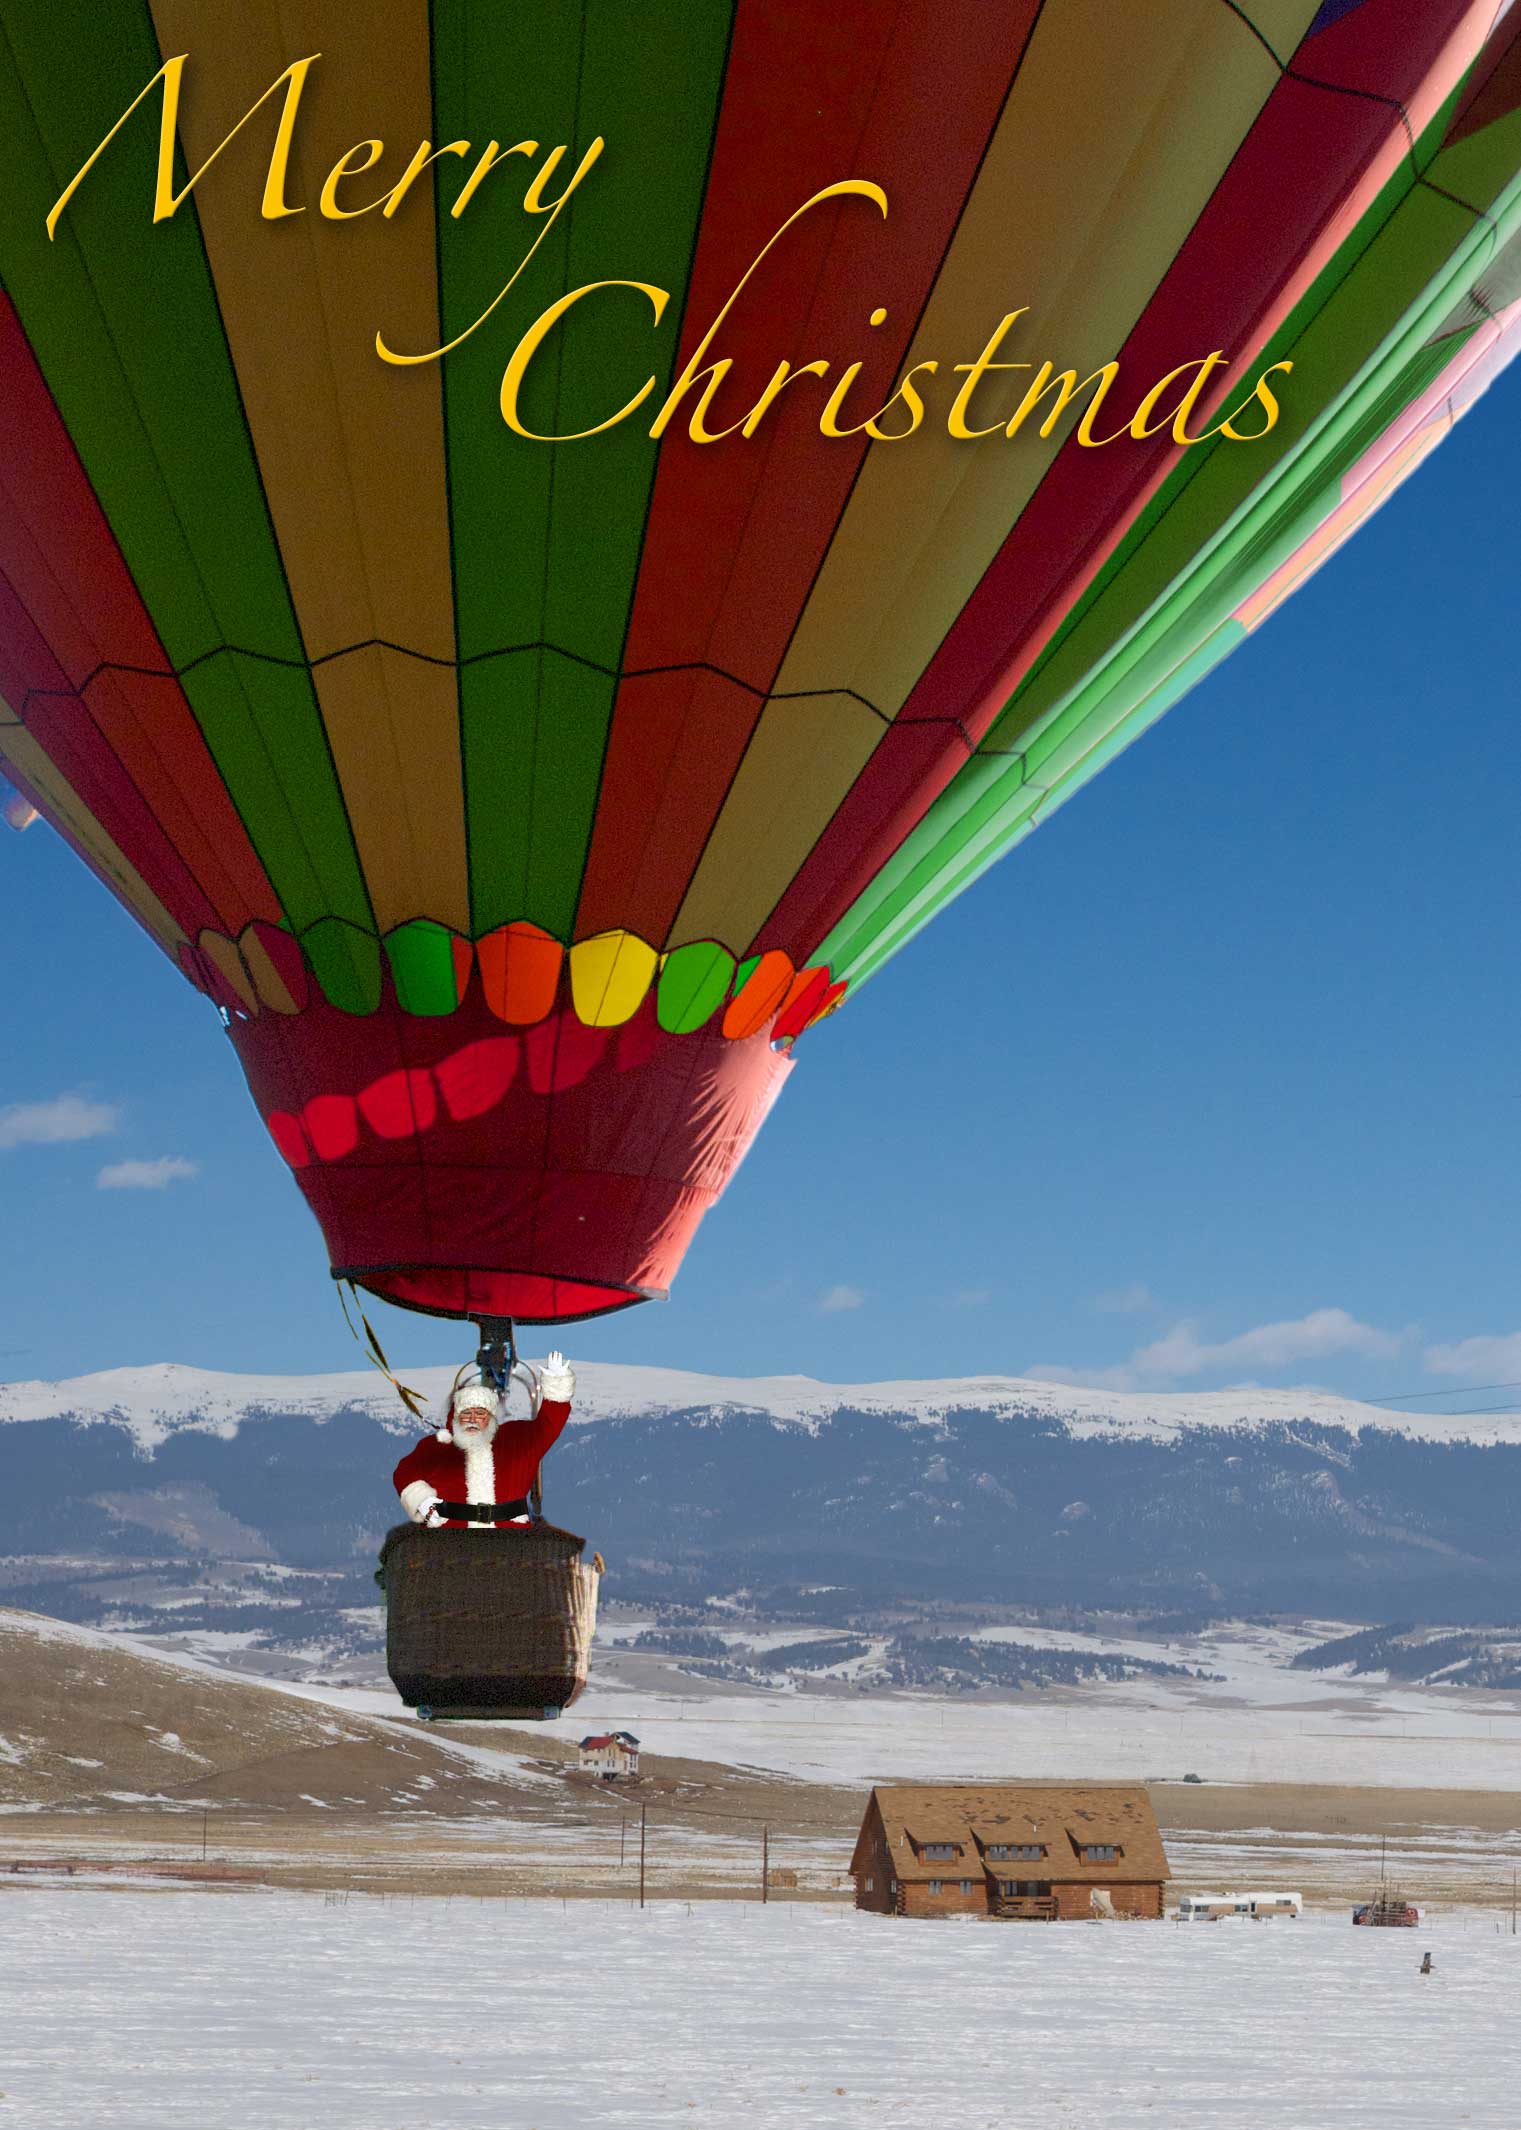
Eventually, I arrived at two different ideas for this year’s card. Somehow, it occurred to me to use the balloon shot that Upper Valley Life used for their cover, and turn it into Santa flying over a town. The other idea would have been a relatively straightforward picture of a footbridge in the snow.
There were several difficulties with the balloon concept. First, the picture was shot in summer, and it would have to be made into a winter scene. Second, I wasn’t sure I could make Santa large enough to “read” and still keep a large enough part of the balloon to be clear that he was in a balloon. I wasn’t sure If I would use the balloon photo directly, or create a digital painting of the scene. I didn’t know if I could create a Santa. Finally, I wasn’t sure how I would handle the terrain under Santa. Despite these concerns, the idea was appealing enough that I decided to give it a try. Like the Rockport card, this one would be right at the edge of what I could pull off.
Getting Started
To test the basic feasibility of the idea, I took a copy of the balloon picture, and roughed in Santa and a snowy ground beneath, to see if the basic elements would read well. I wanted to be sure that both Santa and the balloon would be recognizable, before I went too far. I created a layer mask of just the balloon, getting rid of the existing passengers. I created another layer for the sky, getting rid of all the other balloons. I changed the purple in the balloon to green, to make it more Christmas-y. I scrawled in a very rough figure of Santa in the balloon, and cropped the picture a bit, to focus more tightly on the balloon and make Santa more visible. Then I added in some fairly blank snow covered hills to cover over the trees in the original shot.
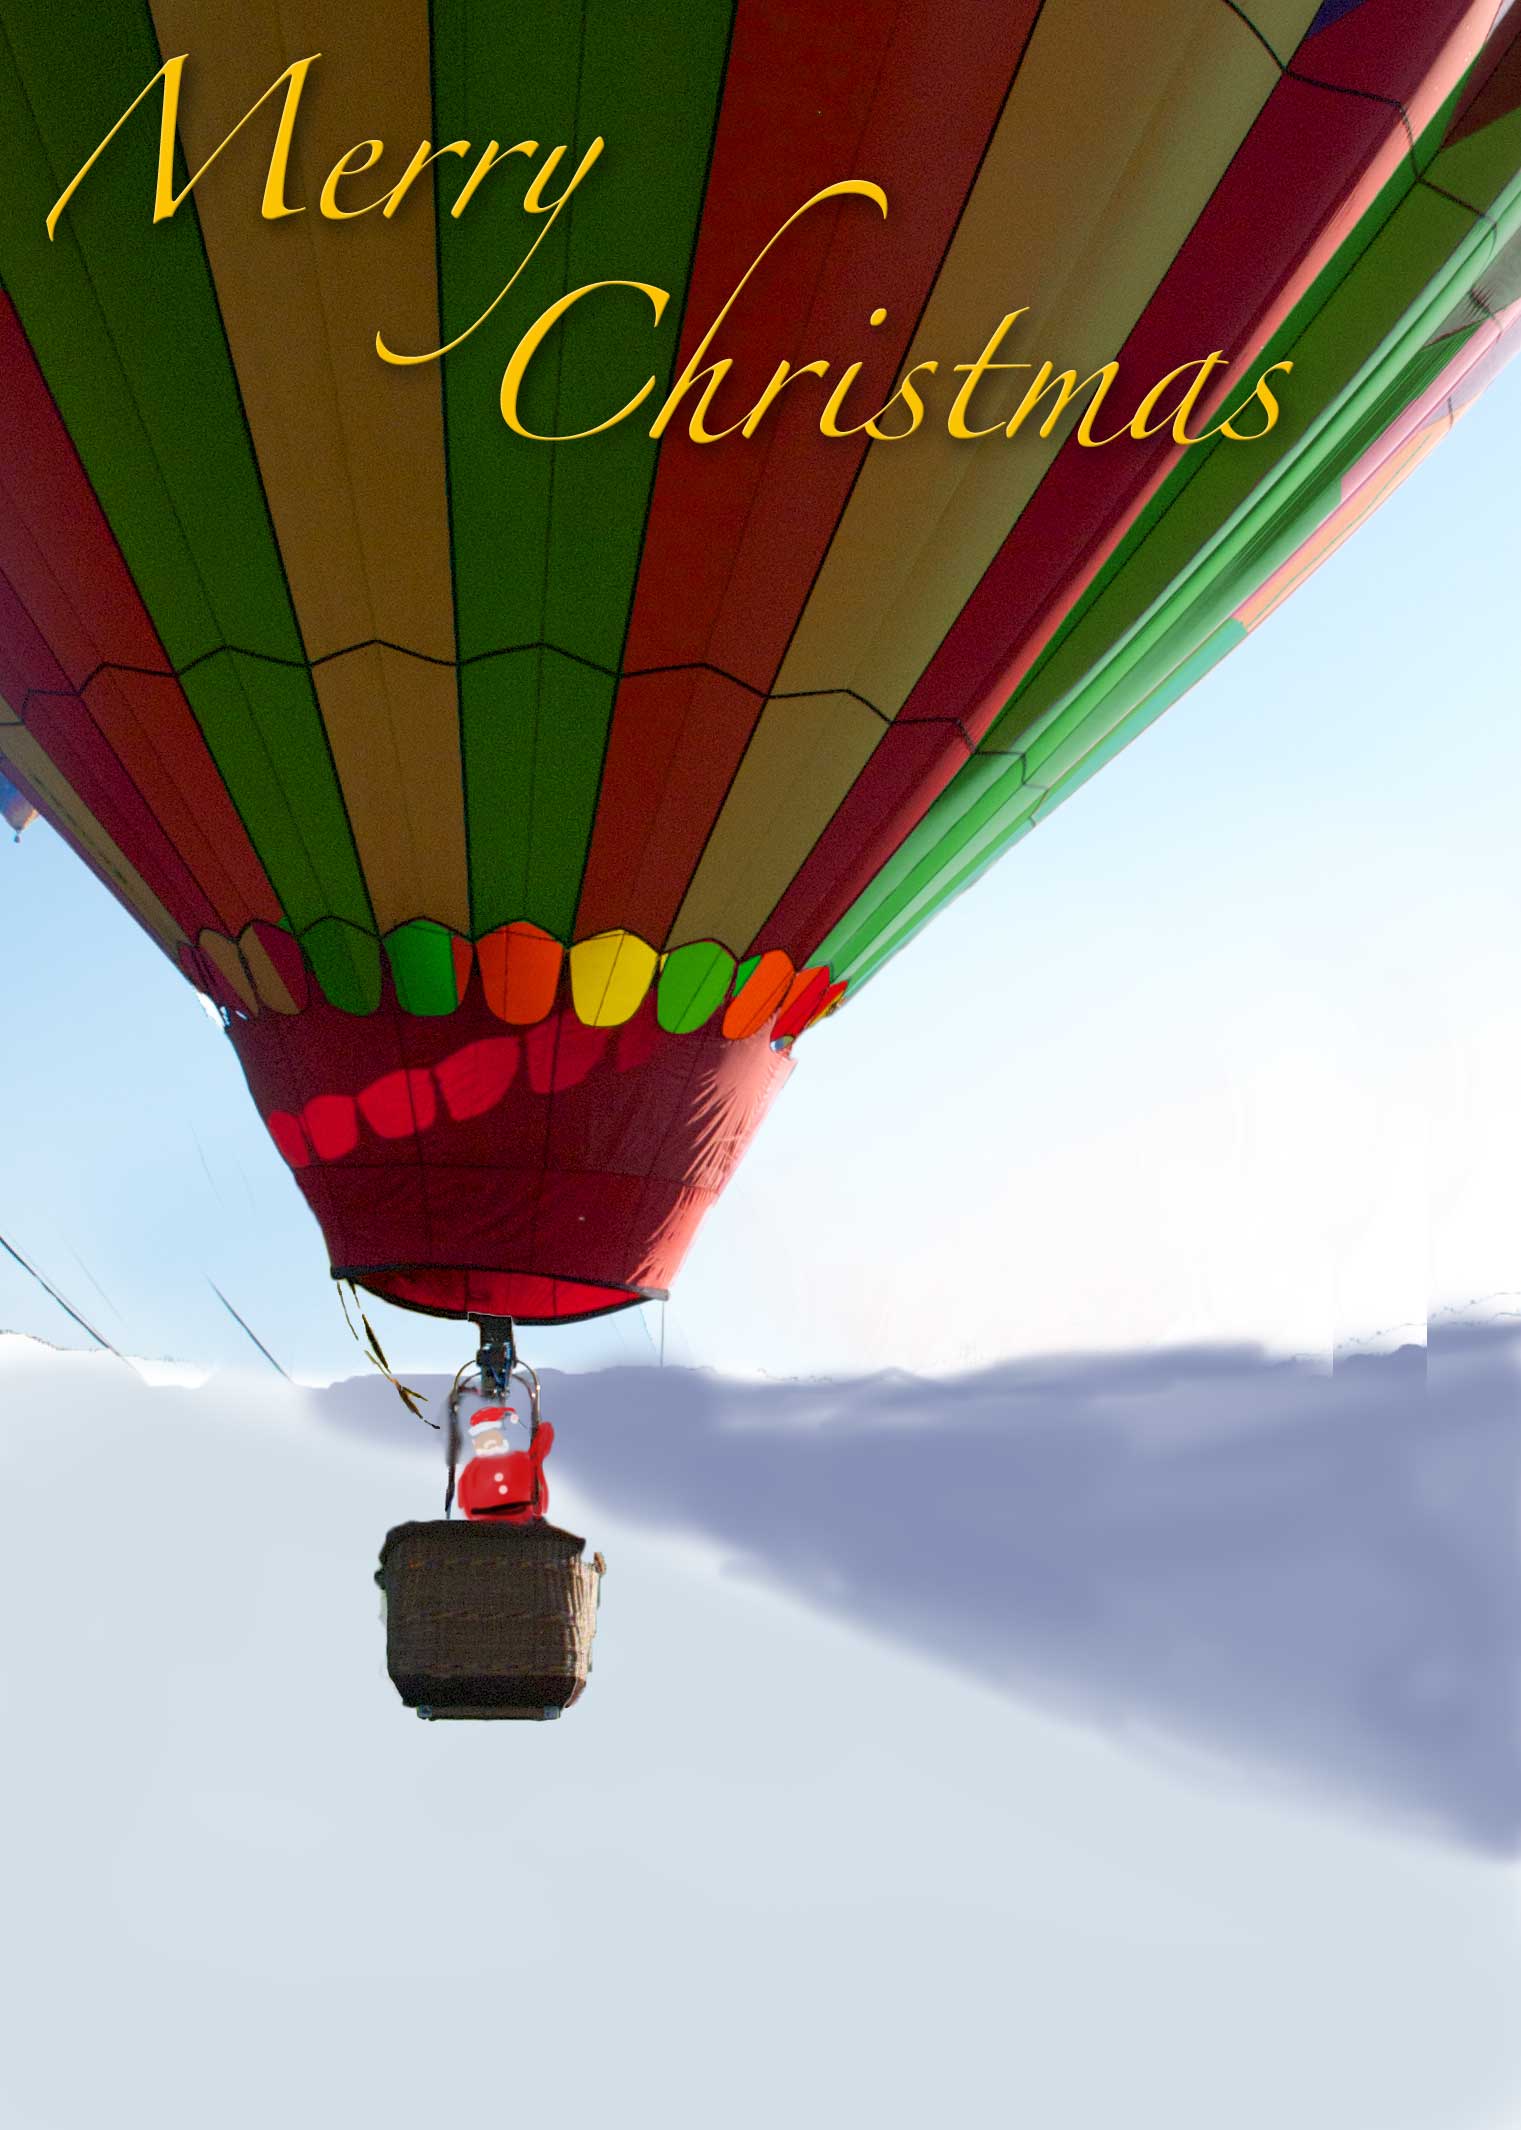
This version told me that the basic idea would work, but that I had a long way to go. It was Thursday the 12th, and I needed to get them in the mail by the 16th or so.
One of the elements that needed to be fixed was Santa. I knew my little scrawl wouldn’t work. I looked for pictures of Santa online, and found a photo of Santa waving in a news story. I extracted him from the background, resized him, and placed him in the picture. It was my intention at that point to replace him with a more detailed painting of my own later, but I never did. It bothers me a little that I didn’t. If this had been a commercial project, I would have, but I rationalized it away by saying this was a personal, non-commercial project, and he wasn’t particularly recognizable (as an individual) in the printed cards.
False Start # 1

I was still concerned with the terrain under Santa. My original intention was to have him floating over a town, but I wasn’t at all sure I could pull it off in the time I had. I looked at my balloon pictures from both 2012 and 2013, and decided on this on this picture taken in 2012, right after we lifted off and started floating away from the festival grounds. So I took this picture, rescaled it a little, and added it as a layer under the balloon, and started sketching.
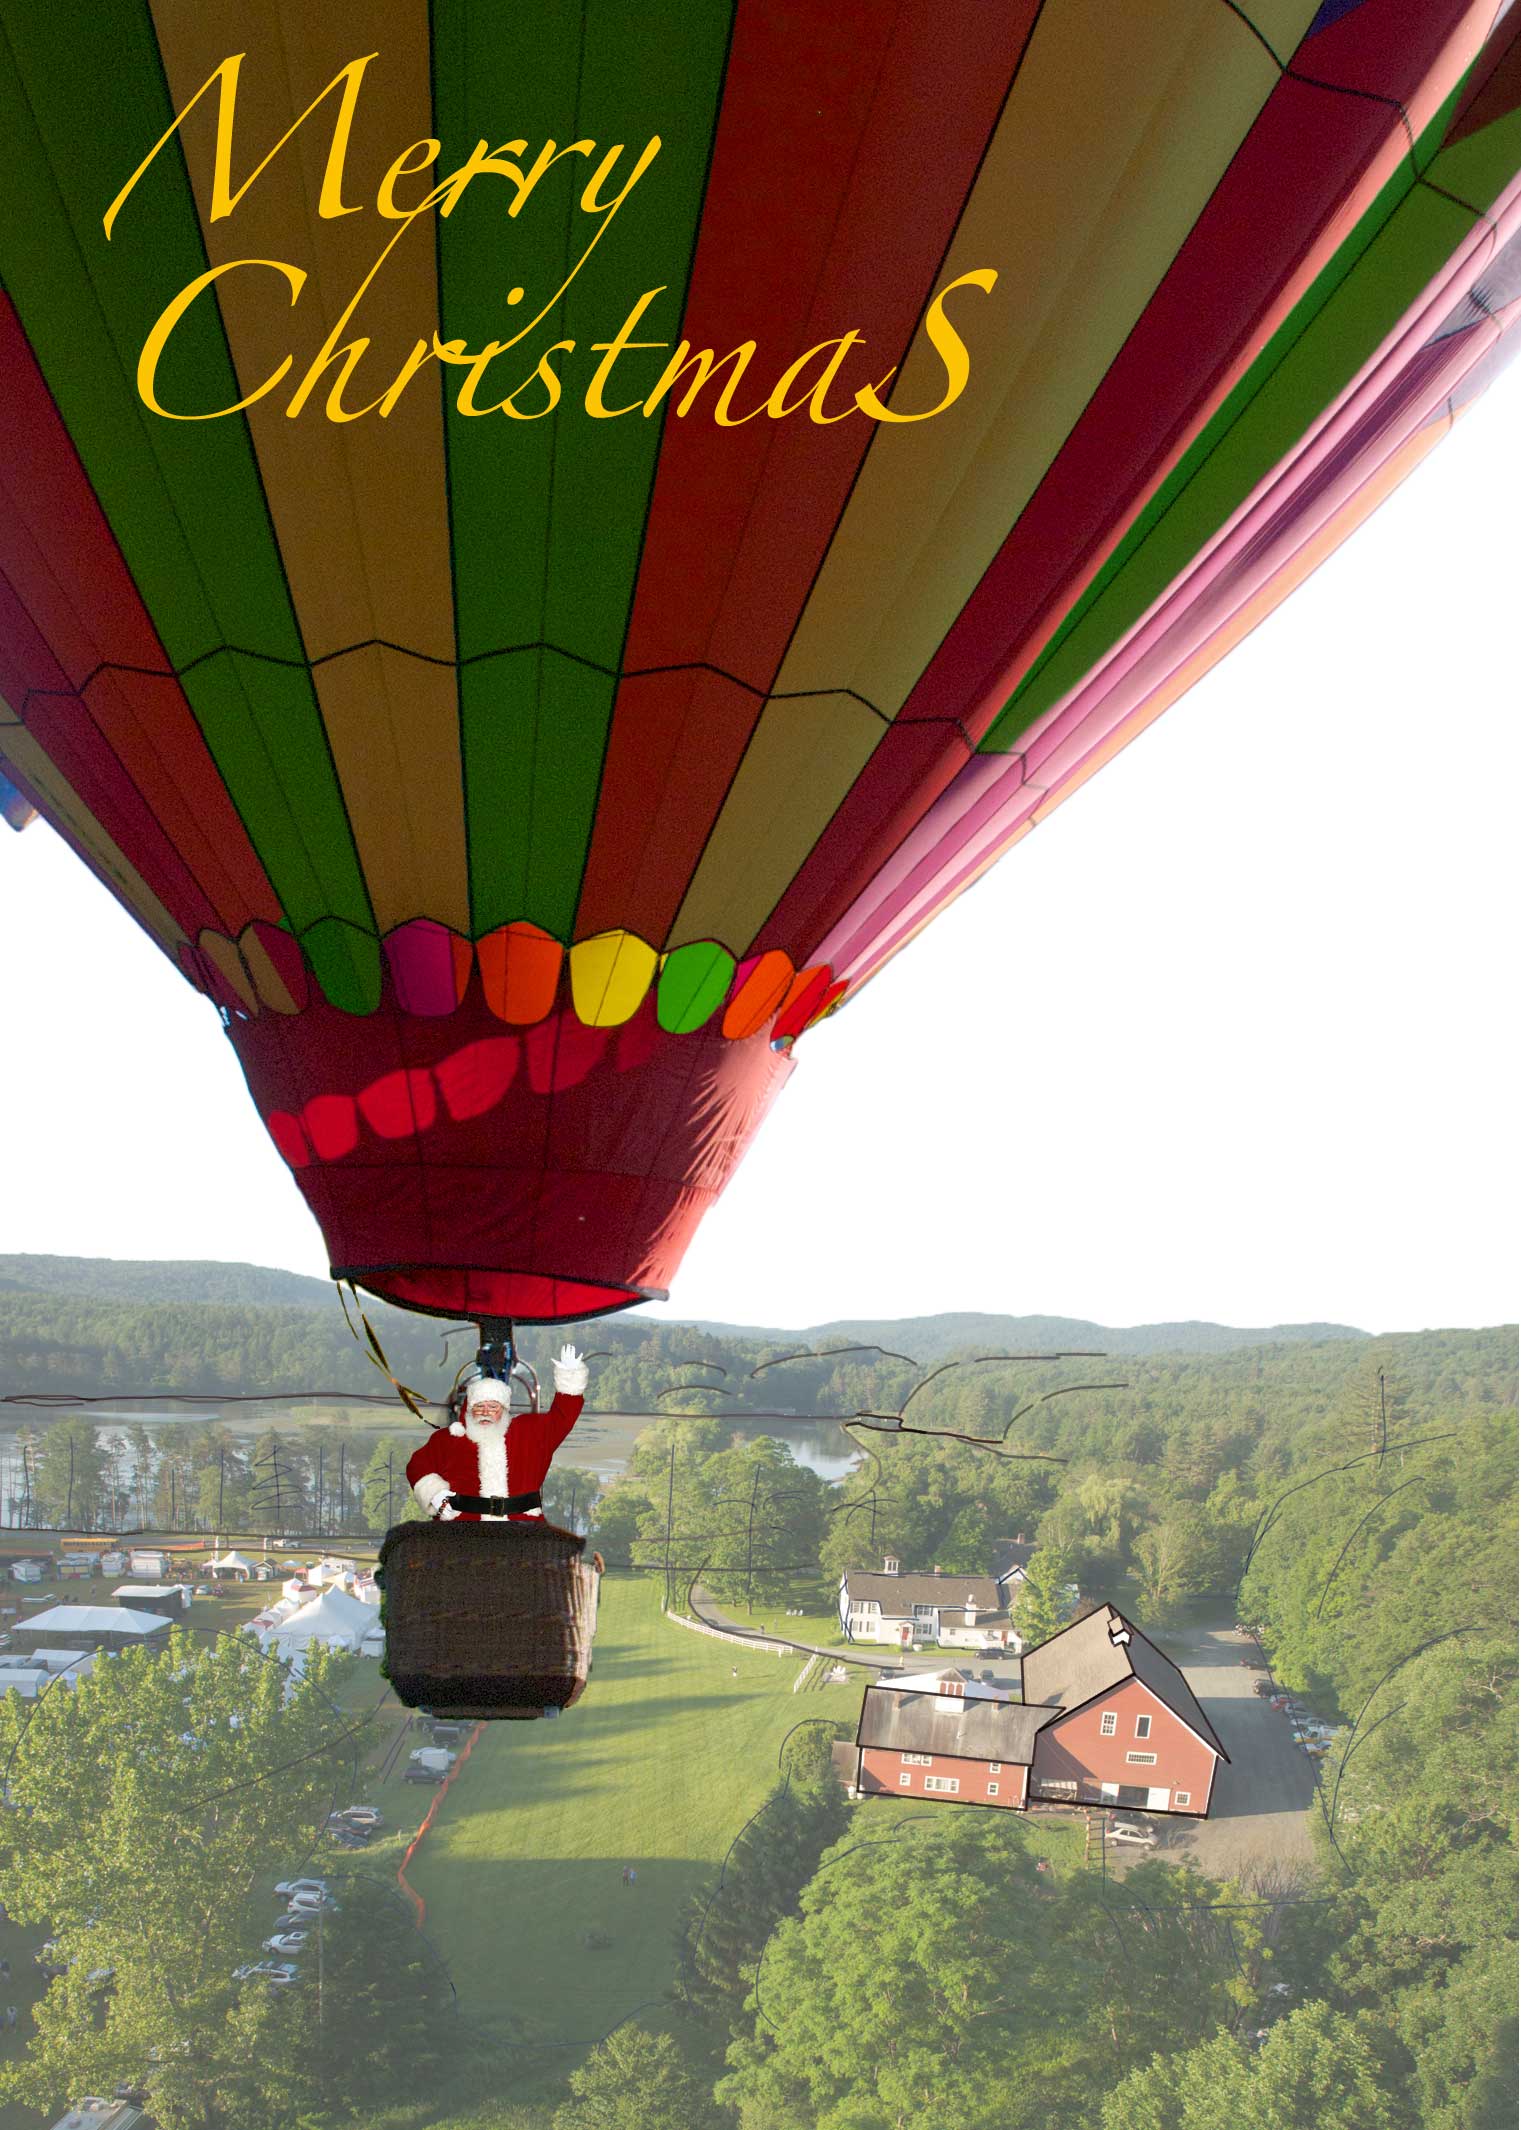
After a couple of hours, I conceded defeat. Mainly, I didn’t feel that I could do the summer to winter conversion in the time that I had. There were too many deciduous trees that would have to be redrawn without leaves, and too many details, like the festival grounds, that would have to be painted over. Also, the light sources don’t match, and the perspectives were off.
False Start #2
I then started to look through all my wintry pictures to see If there was something else I could use. I quickly zeroed in on a bunch of pictures I’d taken during a trip to Colorado in March of 2010. The terrain was mostly snow covered, especially after a storm mid-week. I used a picture of a house in a field against the mountains from one picture, and a deep blue sky from another to create this version. At first, I really thought I was on to something.
The more I looked at it though, the less satisfied I became. The perspective on the house and the foreground were off, making the balloon look like it was hovering about ten feet off the ground. It’s too obviously a composite. I tried a different picture of the house, shot at a wider angle, but it made no difference.
I Start to Figure it Out
At this point, I decided to go back to my original proof of concept sketch. I cleaned up the lines of the foreground and background hills, and then went looking online to see about creating a custom Photoshop brush. I knew it could be done, but I’d never done it before. I found a tutorial online, and in short order, had created brushes out of four trees from the snow-covered Colorado pictures. Starting at the back of the foreground hill, with the brushes sized very small, I started dabbing in trees, increasing the size as I approached the foreground, switching between the four tree brushes to provide variety.
Next came the background hill’s trees. The background hill was already a slate blue; I painted the trees on it on a semi-transparent layer on top of the hill. This mostly worked OK, except for the trees at the edge of hill; you could see the top of the hill through the trees. I had to paint over the trees with a fully opaque layer on top of these. It came out fine for the cards, but is still noticeable in the digital version.

Now that I had the trees, I needed to make them snow-covered. It took a couple of tries. My first stab at it, I was using a brush with dabs that were too big and clumpy; I abandoned this version about a third of the way through the foreground hill. I then found a different brush that had a nice feathery look that was very appropriate for evergreen trees, but I couldn’t get the brightness I wanted. After doing all of the foreground hill, I realized I’d been painting the snow onto the semitransparent background tree texture layer. Damn. I abandoned that version, reverted, and started over, zoomed in tight on the foreground layer, just dab, dab, dabbing snow onto the trees, varying the opacity of the brush to create a sunlit and shadowed side of the trees. Thank goodness for the graphics tablet. It took forever, and it was getting to be very early in the morning. When I finally finished the foreground hill, though, I zoomed out to take a look at the whole thing, and, my word, it looked real.
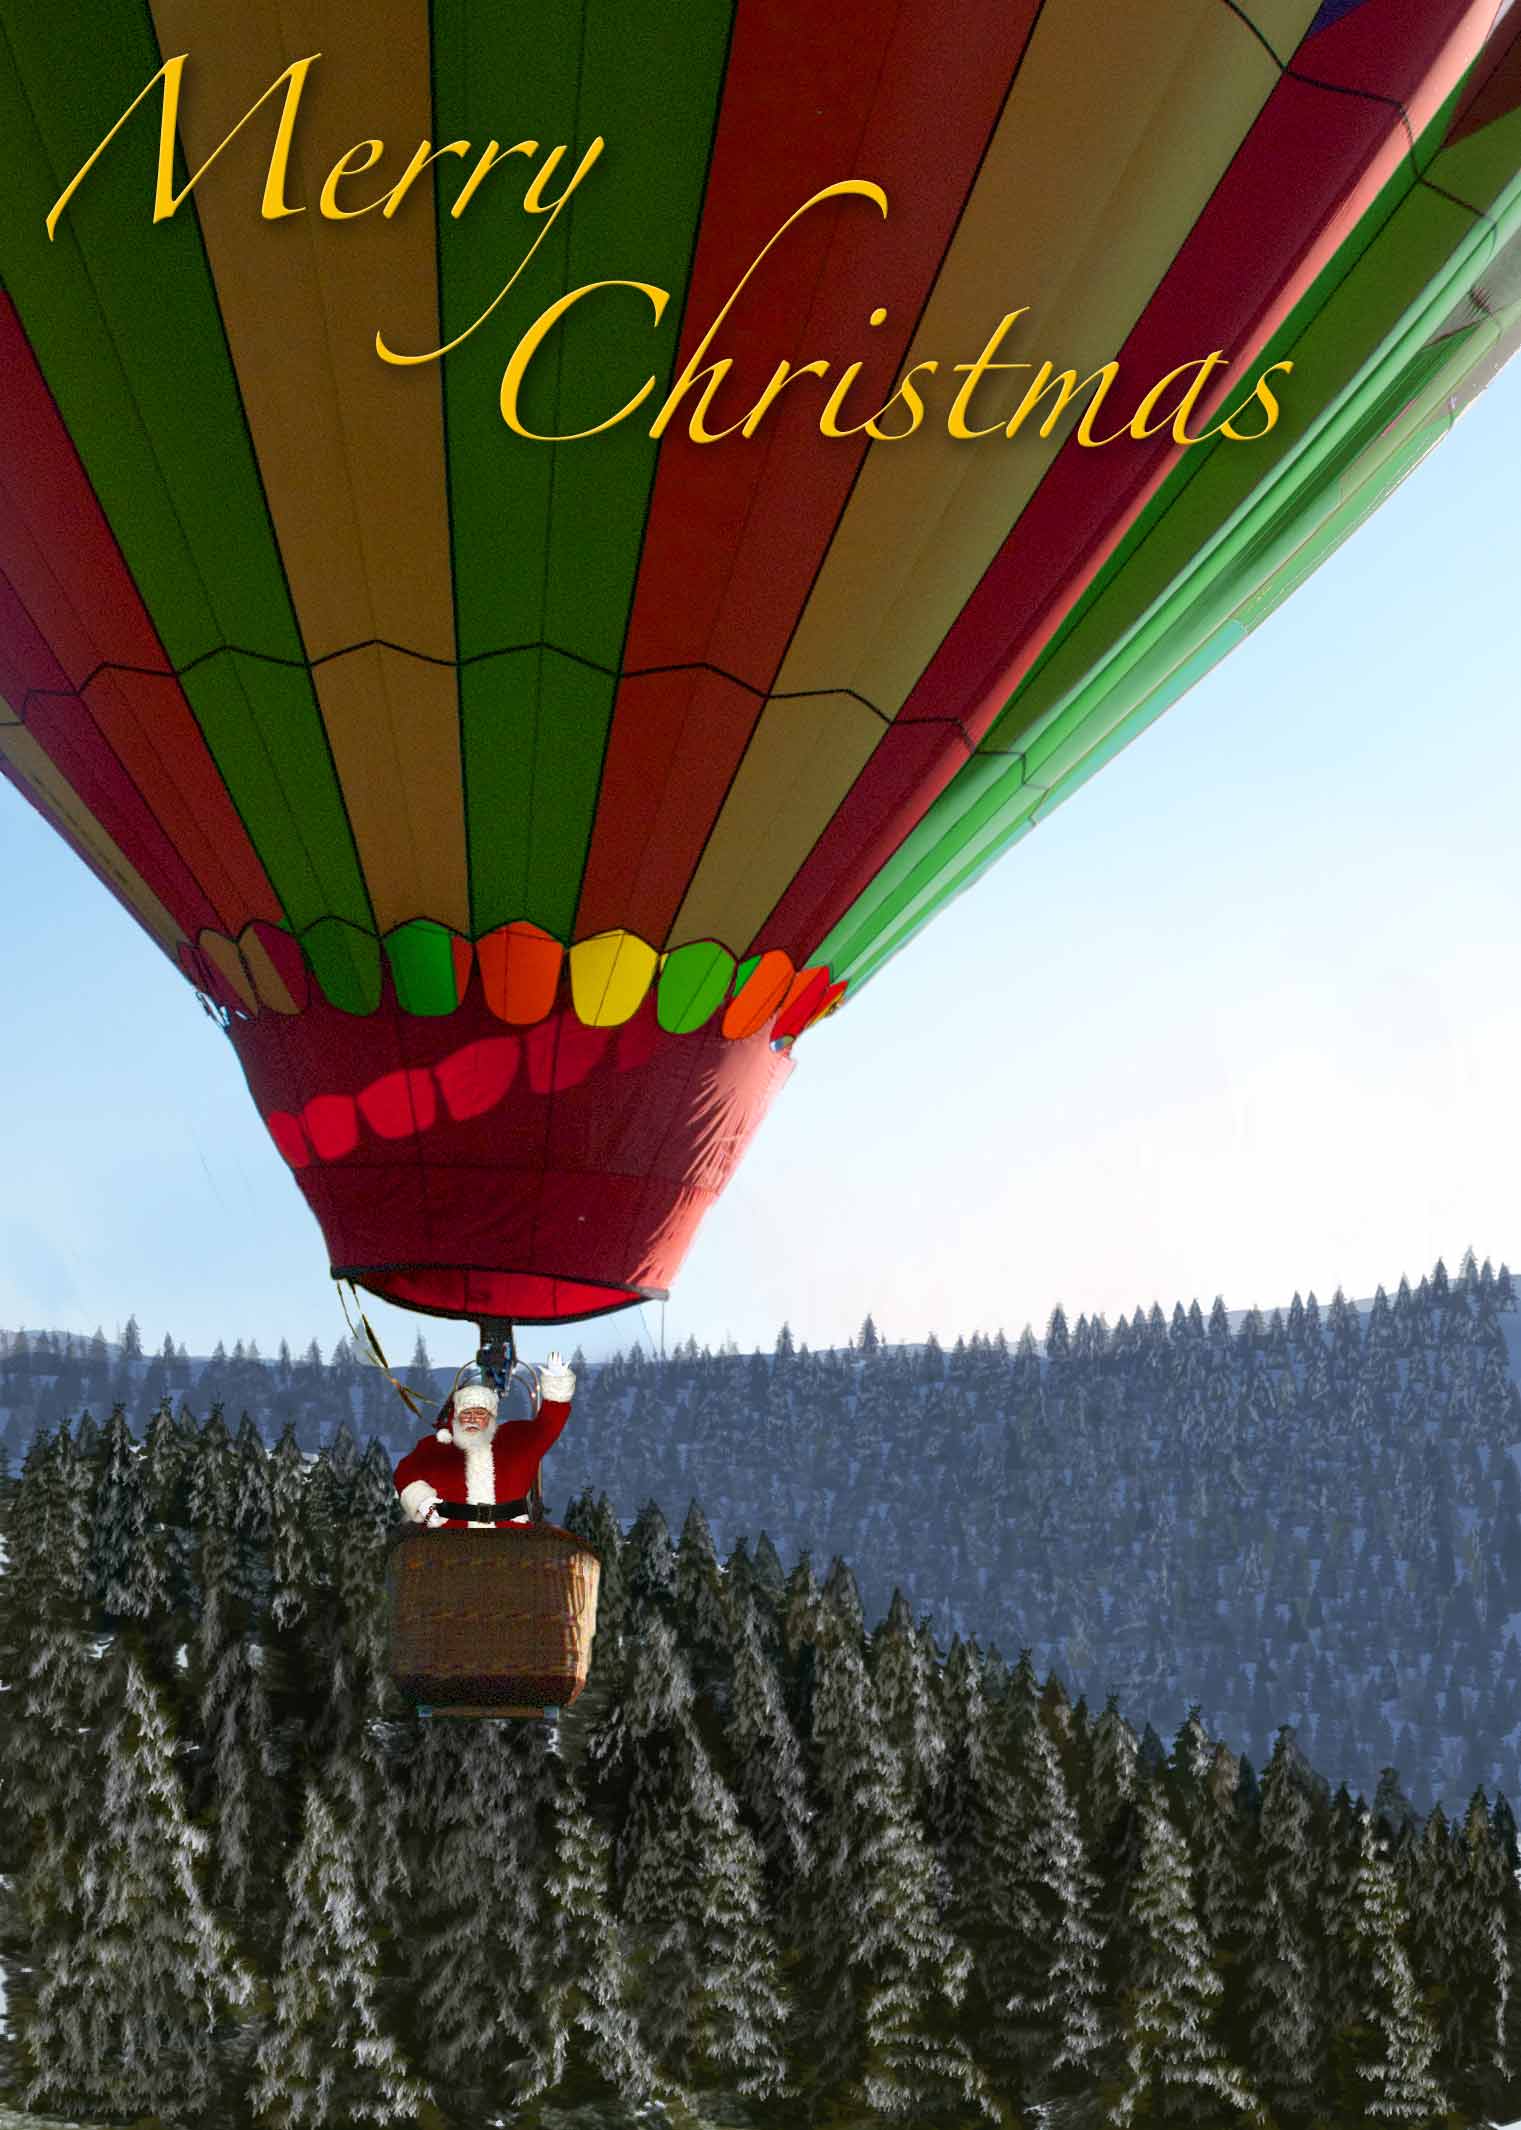
Finishing Up
Once I felt that I was finally on the right track, it was time to finish the image. I added snow covering to the trees on the background hill, and cleaned up the rather rough masking I’d done on the balloon originally. One of the passengers on the balloon had been hanging his arm over the side of the basket; I used the clone stamp to remove that, and fix the rim of the basket. I added a shadow to the top of Santa’s shoulders, and intensified the brown of the basket, and added an almost transparent blue haze layer between the balloon layer and the snowy hills. The sky layer needed a few more fixes to fully hide the background balloons. Finally, around 3 in the morning of Saturday, December 14th, the picture was done.
Producing the Cards
My Epson R300 printer really doesn’t like printing on card stock. It no longer grabs the paper well, and so each sheet has to be fed in by hand for each side. To speed up production, I always print onto 2-up note card stock so I can get two cards out of every sheet. To lay out the card onto the stock, I use Adobe Illustrator to lay out the outside and inside of the cards. One side of the sheet has the fronts and backs (with my name and contact info) of the card; the other side has the message inside. Luckily, I still had my 2012 card files and it was a simple matter of replacing the front picture, updating the text, and I was off to the races. By Sunday night, all the cards were printed, addressed, and ready for mailing.