I was looking through my old negatives to see if I could find the negative of the picture of my Dad that I posted last September, when I came across yet another box of slides. The box contained a bunch of rejected slides, pictures that were either too light or too dark to be part of a slide show. That was then. Now, we can edit pictures digitally, so I figured they were worth a second look. I found about fifteen that looked like they might be worth a quick scan to see if there was anything worth the work of fixing them.
Of the first four, this was the most promising. It’s a picture of my sister and me from 1963, taken by my father.
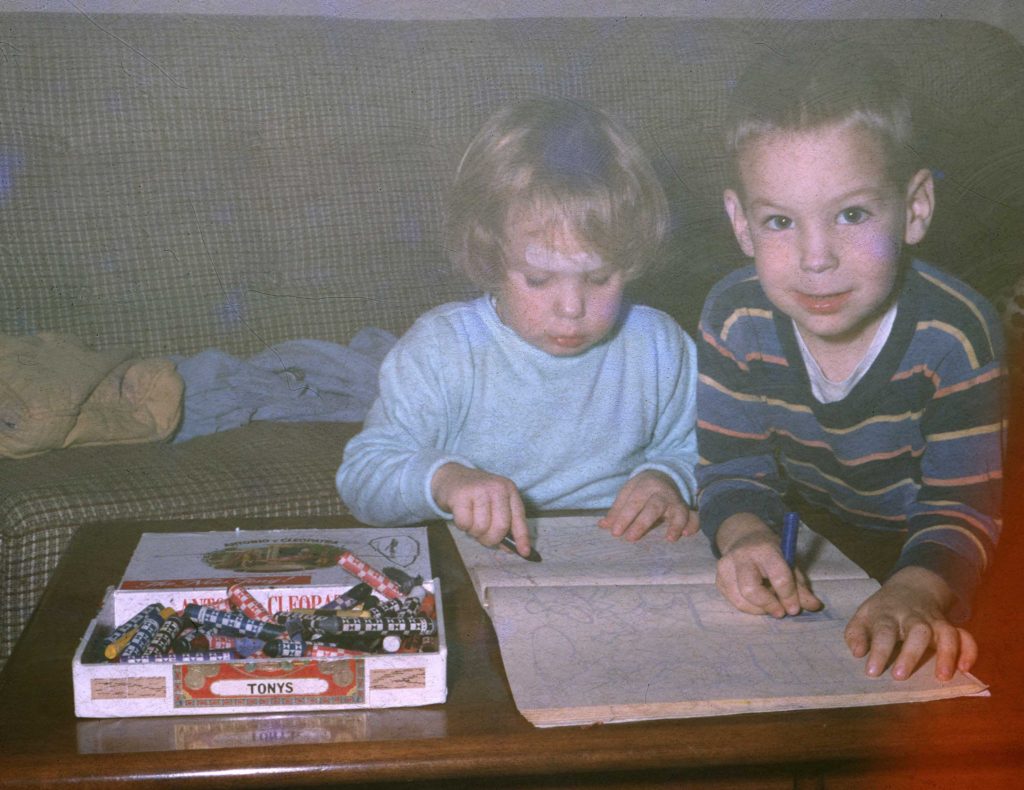
Nancy and Me – before
It looks like it was from the tail end of a roll — light fogged at the right and top, and covered with fungus.
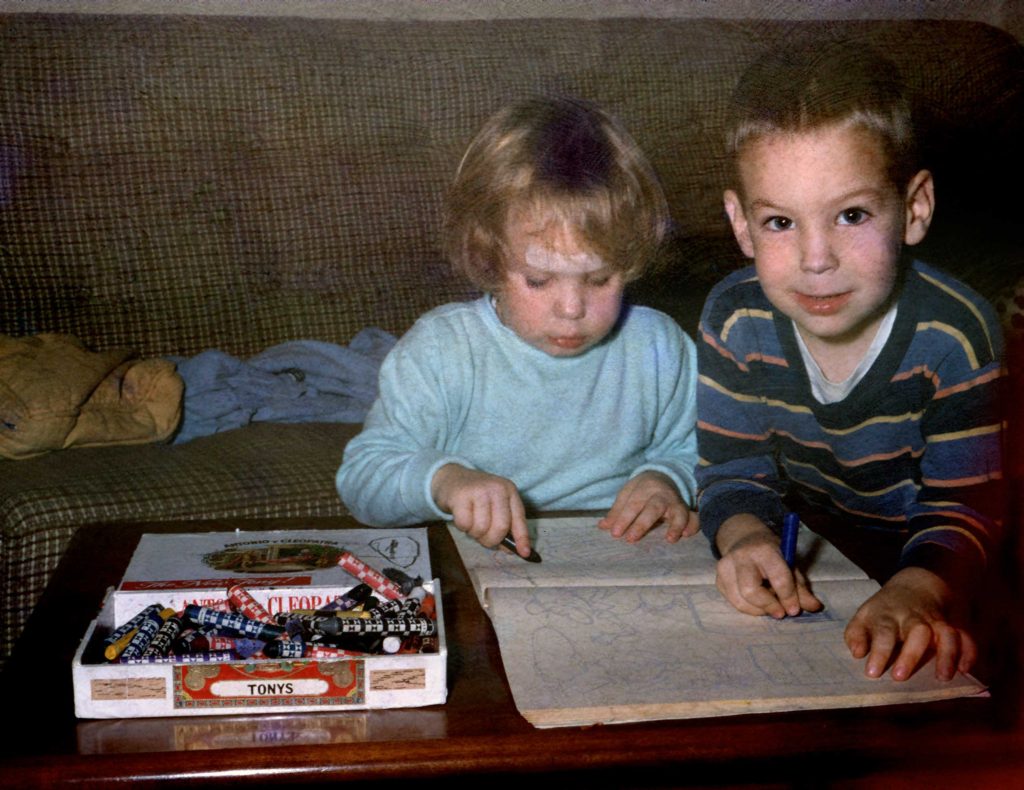
Nancy and Me – After
Not bad at all. So what did I do?
- I cropped much of the fogged area out of the picture. (The ‘Before’ picture is actually cropped).
- I added an initial overall Curves adjustment to make the darks darker and the lighter areas lighter, and adjust the color.
- I added a second Curves adjustment on top of the first, masked with a layer mask with a very soft bottom edge, over the top half of the picture. This layer makes the top part of the picture darker and more contrasty, and further adjusts the colors.
- Used the Spot Healing Brush to clean up the biggest bits of dirt on the scan. Things like hairs and especially large clumps of mold.
- Cleaned up some (but not anywhere near all) of the mold tendrils on the faces. Just the very largest spots — there was way too much mold damage on this picture to spot them all away individually.
- Dealt with the blue mold spots. These occur where the fungus has eaten through the yellow dye layer of the emulsion. For some, like the blue spot on my face, and some of the blue spots on the couch, I used the Clone Stamp Tool. In other places, like along the back wall and the spot in my sister’s hair, it was sufficient to use the Sponge Tool to desaturate the blue away.
- I used the Sponge Tool and Burn Tool to desaturate and darken the edge fogging on the right side of the picture.
- Finally, I duplicated my layer, ran the Dust and Scratches filter on it, masked it, and then removed the mask away from any edges.
The problem with the Dust and Scratches layer is that it works by blurring the spots away, and can also blur away detail. Usually, I only need to unmask the Dust and Scratches layer where there are dust spots. Usually, if there are particularly bad areas, they’re confined to the sides, which are out of focus anyway. Not this picture. I had to accept this image was not going to be as clean as I’d like.The fungus damage was way too extensive, and covered every square millimeter of the film. So I unmasked everything away from any sort of edge. For example, I unmasked the skin if the faces, but left the edge of the lips and eyes from the base layer showing, to retain the sharpness of the edges.
Overall, though, considering the state of the original image, not too shabby, even if I do say so myself.
Boy, were we cute! Oh, and the picture cleaned up nicely as well.
Yup. I knew when I saw it that it was worth trying to rescue. I’ve got a few other rejects that I want to take a second look at.