Slide Scanning Update

I was just re-reading my post on my slide scanning workflow, and thought I’d post an update. I’m just about to finish my second carousel, and I’ve made a change that has sped things up a bit.

First of all, I’d like to mention that VueScan no longer requires the the slides to be set to “Mirror”. There was a update a couple of months ago that took care of this issue.

Second, I’ve found a better way to use the “Dust and Scratches” (DS) layer that I generate using the old Polaroid Dust and Scratches plugin. I would imagine this technique would also work with the default Dust and scratches plugin too. To recap, I found that the Polaroid dust and scratches plugin did a very good job of getting rid of dust spots, and to a lesser extent, fungus, but it also left artifacts, and removed detail.

Kids watching my uncle feed a squirrel

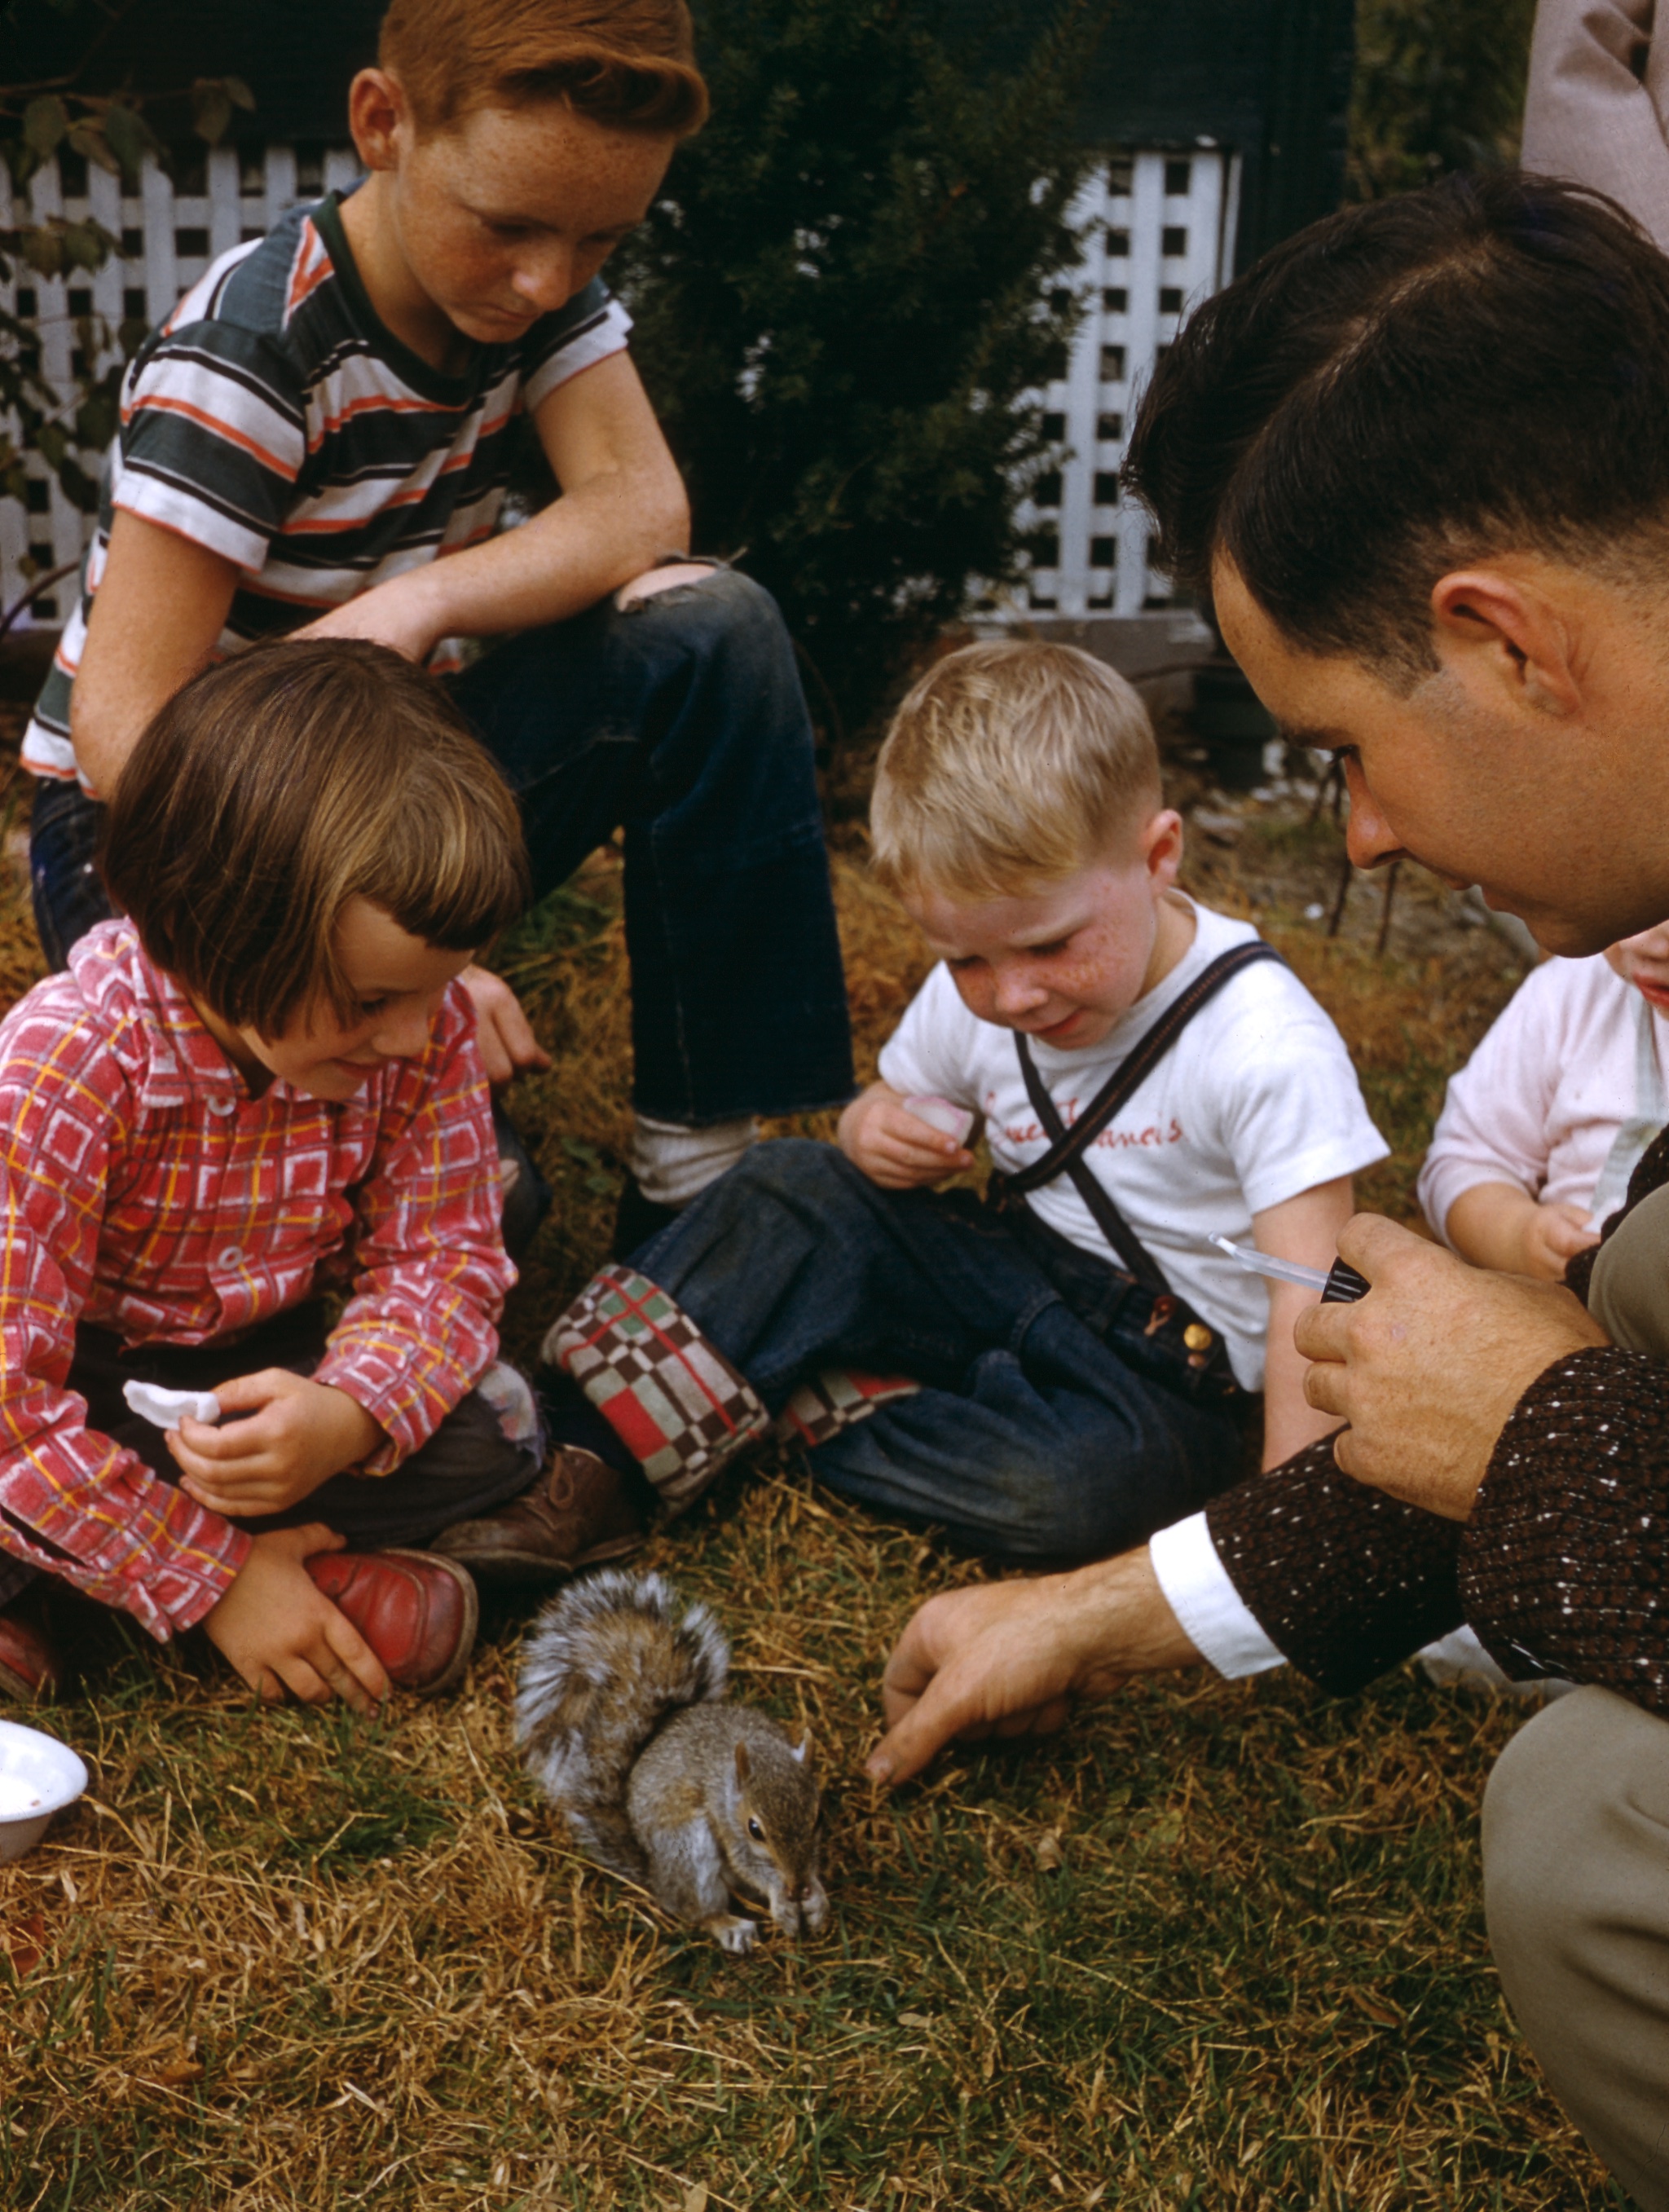
Cousin Susan, Uncle Tom, and neighbor watch my Uncle Dick feed a squirrel. Circa 1955

Previously, I was running the filter on a copy of the file, and then adding the result as a layer, and erasing the layer where it was causing problems. This created a lot of work, because I had to carefully inspect the whole image in order to erase the layer where it was causing problems.

Eventually, I realized it would be better to reverse things. Now, I add the layer, and immediately add a layer mask to it in Photoshop, making the layer completely transparent. Layer masks allow you to make make parts of layer transparent or translucent. When the mask is black, the layer is transparent. Where the mask is white, the layer is opaque. Gray generates a semi-transparent area. Once the mask is created, you can paint on it with the brush or any of the other tools, allowing very good control of what parts of a layer are visible. It’s a great tool for creating collages.

So I start off with a completely transparent DS layer, and then use the graphics tablet and brush tool to unmask the layer over dust spots. Generally speaking, for spots and fungus tendrils, it’s faster than using the Spot Healing Brush, and working this way allows me to avoid applying the layer to areas with a lot of detail. For hairs, scratches, and areas of detail, I find the Spot Healing Brush works better—it’s more complete, and it’s less likely to add artifacts or remove detail.

I’ve found this speeds things up quite a bit, since I can keep the brush away from edges and detail, only applying the layer where it’s needed. This means I don’t have to keep checking the DS layer to make sure it isn’t obscuring detail. It’s also usually faster than the Sport Healing Brush — my aim doesn’t need to be as accurate, and I don’t have to fuss with it as much. Using this technique (plus the fact that the current batch of slides hasn’t been as dirty as the first batch) meant that I was able to get many more slides scanned for my aunt than I anticipated in time for Christmas.

Slide Scanning Work Flow

I mentioned in my previous post that I’m scanning my father’s old slides. The slides are almost all Kodachromes, spanning the period from the mid 1950s to the 1970s. The eventual goal is to have a set of scans that I can disseminate to family members at a reasonable resolution, without, hopefully, it becoming my life’s work. The slides are in a variety of states: some are well exposed, well processed, and have no color casts, some are underexposed, a set are overexposed, and some have visible color casts. All of them, I’ve found, are filthy, and many are covered with fungus.  What I didn’t realize was that I’d signed up for a restoration project.

Continue reading

Scanning Slides With the Plustek OpticFilm 8200

My Dad was a great photographer. With his 35mm Kodak Signet, and Zeiss Ikon folding medium format rangefinder, he shot a ton of slides that he would bring out from time to time for a “movie” show. Somehow, when he died, I became the custodian of his pictures. When I picked up a Carousel projector for my own slides, I organized his slides into a couple of standing carousel shows.

Every now and then, some family member has asked about getting copies or scans of the slides. Every now and then, I’d think about transferring them to digital, look into the matter, and come away with these options, all of them bad:

  • Have them scanned locally by a camera store, at about a $1 a slide. I did this for a couple of my own slides for a funeral; the quality was atrocious. The scans were blurry, the contrast was muddy, and the color was shitty. There is no way I was going to let them do more.
  • Send them out to a digitizing service. Aside from the inherent risk of sending them out at all, I’ve read that the lower priced services actually send the slides overseas, where labor costs are lower. No way. There are services that do the work domestically, but they’re higher priced—on the order of $3-6 apiece. I may still explore this option for his medium format slides.
  • Get a scanner, and scan them myself. This would entail the cost of the scanner, plus my own time scanning and post processing the slides. For the longest time, the only scanner I could find that looked like it had quality I could live with was the Nikon CoolScan series. The only problem was that they were $2000 – $5000 — and no longer available. Every now and then I would desultorily look at eBay to see if they had one I could afford at the moment, and come away empty handed.
  • Get a cheap scanner. My mother actually got one for me for Christmas, but it turned out to be Windows only. I tend to doubt I would have been happy with the quality.

Finally, about a year ago, I started reading about the Plustek OpticFilm series of scanners. I saw some sample images, and they looked good. I checked the reviews, and they were mostly good, with the caveat that there was a learning curve involved, so last March, I bit the bullet, and bought one. Continue reading