I was just re-reading my post on my slide scanning workflow, and thought I’d post an update. I’m just about to finish my second carousel, and I’ve made a change that has sped things up a bit.
First of all, I’d like to mention that VueScan no longer requires the the slides to be set to “Mirror”. There was a update a couple of months ago that took care of this issue.
Second, I’ve found a better way to use the “Dust and Scratches” (DS) layer that I generate using the old Polaroid Dust and Scratches plugin. I would imagine this technique would also work with the default Dust and scratches plugin too. To recap, I found that the Polaroid dust and scratches plugin did a very good job of getting rid of dust spots, and to a lesser extent, fungus, but it also left artifacts, and removed detail.

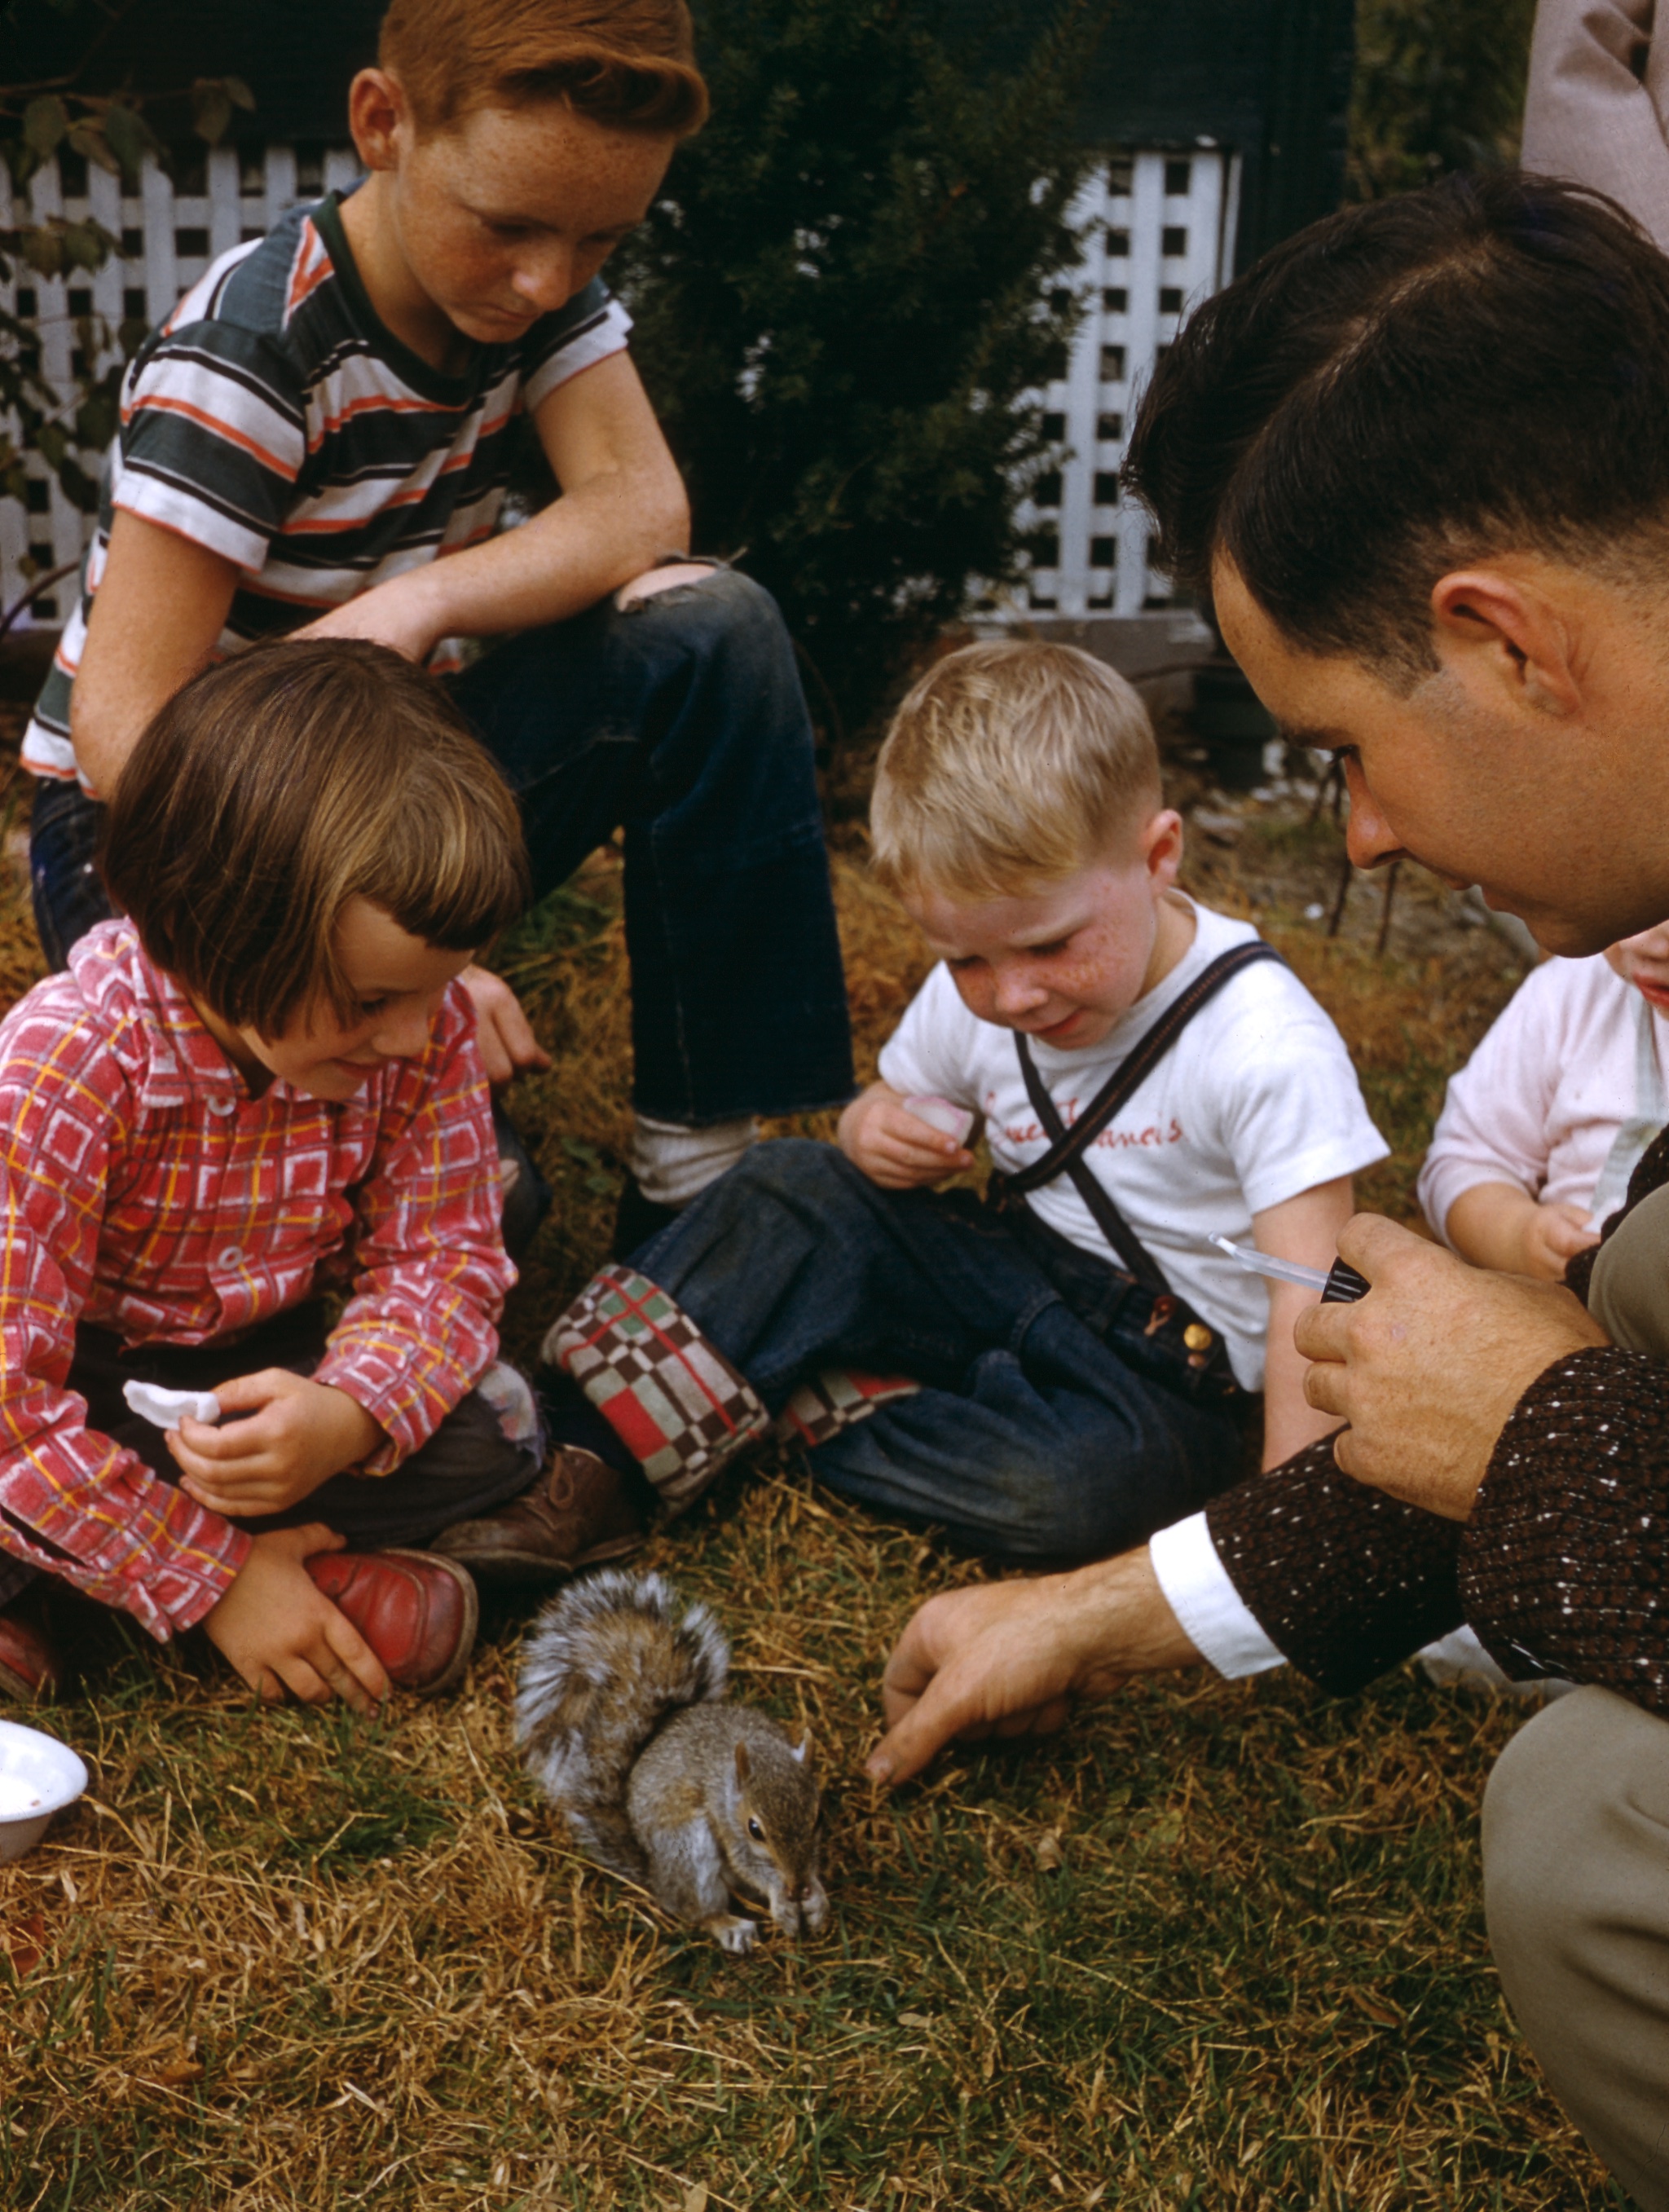
Cousin Susan, Uncle Tom, and neighbor watch my Uncle Dick feed a squirrel. Circa 1955
Previously, I was running the filter on a copy of the file, and then adding the result as a layer, and erasing the layer where it was causing problems. This created a lot of work, because I had to carefully inspect the whole image in order to erase the layer where it was causing problems.
Eventually, I realized it would be better to reverse things. Now, I add the layer, and immediately add a layer mask to it in Photoshop, making the layer completely transparent. Layer masks allow you to make make parts of layer transparent or translucent. When the mask is black, the layer is transparent. Where the mask is white, the layer is opaque. Gray generates a semi-transparent area. Once the mask is created, you can paint on it with the brush or any of the other tools, allowing very good control of what parts of a layer are visible. It’s a great tool for creating collages.
So I start off with a completely transparent DS layer, and then use the graphics tablet and brush tool to unmask the layer over dust spots. Generally speaking, for spots and fungus tendrils, it’s faster than using the Spot Healing Brush, and working this way allows me to avoid applying the layer to areas with a lot of detail. For hairs, scratches, and areas of detail, I find the Spot Healing Brush works better—it’s more complete, and it’s less likely to add artifacts or remove detail.
I’ve found this speeds things up quite a bit, since I can keep the brush away from edges and detail, only applying the layer where it’s needed. This means I don’t have to keep checking the DS layer to make sure it isn’t obscuring detail. It’s also usually faster than the Sport Healing Brush — my aim doesn’t need to be as accurate, and I don’t have to fuss with it as much. Using this technique (plus the fact that the current batch of slides hasn’t been as dirty as the first batch) meant that I was able to get many more slides scanned for my aunt than I anticipated in time for Christmas.
